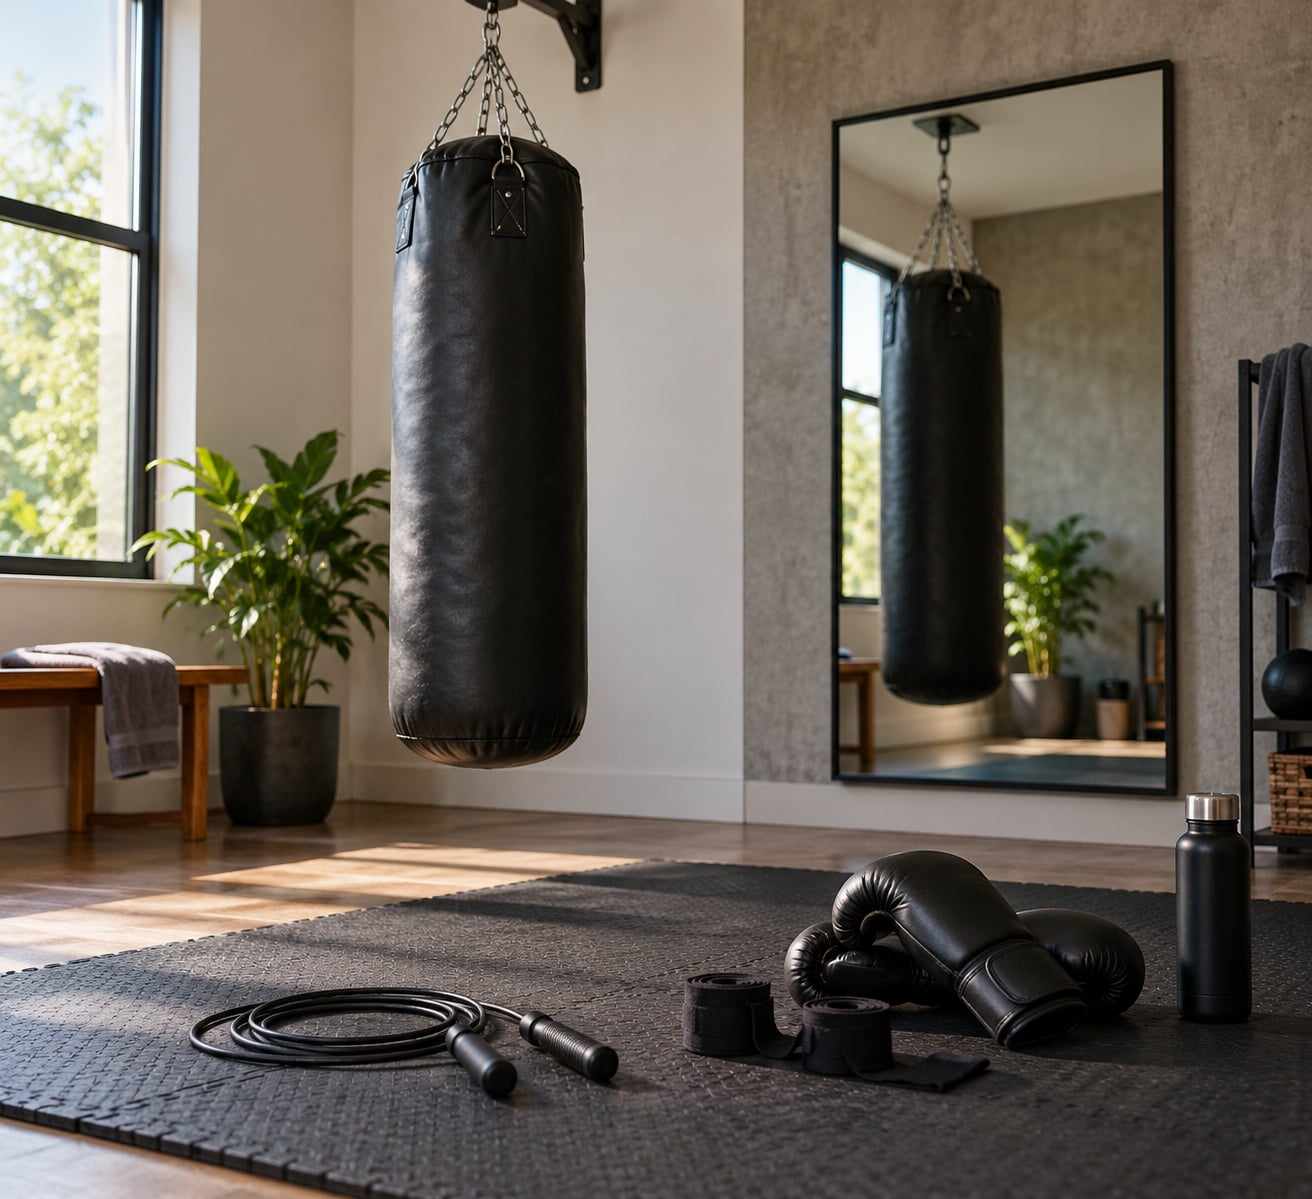
To train like a boxer at home, you copy the structure of a real session: a jump rope warm-up, then timed three-minute rounds of shadowboxing built on correct stance, footwork and punch technique, then a short core finisher, with rest days between sessions. You can do the whole thing in about 25 minutes in a small room with no equipment at all.
Quick note before we start, because this search gets confusing: this guide is about boxing, the sport. If you were looking for training tips for the Boxer dog breed, none of the footwork below applies.
I’ve read the same beginner question over and over on boxing forums, and the honest answer keeps being the same. A heavy bag helps, a coach helps more, but neither is where you start. You start with footwork and the guard, because habits formed in the first month are the ones you carry for years.
Table of Contents
What You Need
The bare minimum is floor space, comfortable shoes, a water bottle and about 25 minutes. That genuinely covers stance, footwork, shadowboxing and conditioning, and it is enough for the first six months.
Everything else is optional, in the order below.
- Hand wraps, 150-inch or 108-inch — the first real upgrade. Wraps support the wrist and spread impact across the knuckle. Skipping them is how home boxers end up with sore wrists after bag work.
- Boxing gloves, roughly 12 to 16 oz — heavier for bag work, lighter for shadowboxing and pad work. Gloves protect your hands, not your technique.
- A jump rope — the traditional warm-up for a reason. It builds footwork timing, calf conditioning and the boxer’s bounce.
- A heavy bag — the biggest single upgrade, and the one most beginners want first. It is also the least important thing to own early on.
- A timer or round app — free ones are fine. Rounds only work if you stop on time.
Space and noise decide more than gear does. You need roughly 6 by 6 feet for footwork, and any ceiling mount for a bag has to hit a structural beam, never plasterboard. Check the load rating for your ceiling type before you drill anything, and use a four-bolt ceiling mount rather than a single-eye strap.
In an apartment, noise is the real constraint. Rope work and bag work travel further through floors than you expect, so switch to shadow rounds on hard days, put a towel under a doorway bag to stop the chain rattling, and avoid dropping heavy bags at any hour when downstairs neighbours are home. Keep your neighbours on your side of this with a conversation before you hang anything.
Before the first session, clear the floor, tie your hair back if you need to, check for loose rugs, and set a rule for yourself now: sharp pain in a joint ends the session. Muscle fatigue is fine. A hot, sharp feeling inside a wrist, elbow or shoulder is not.
How to Train Like a Boxer at Home: Step-by-Step
1. Warm Up Your Whole Body
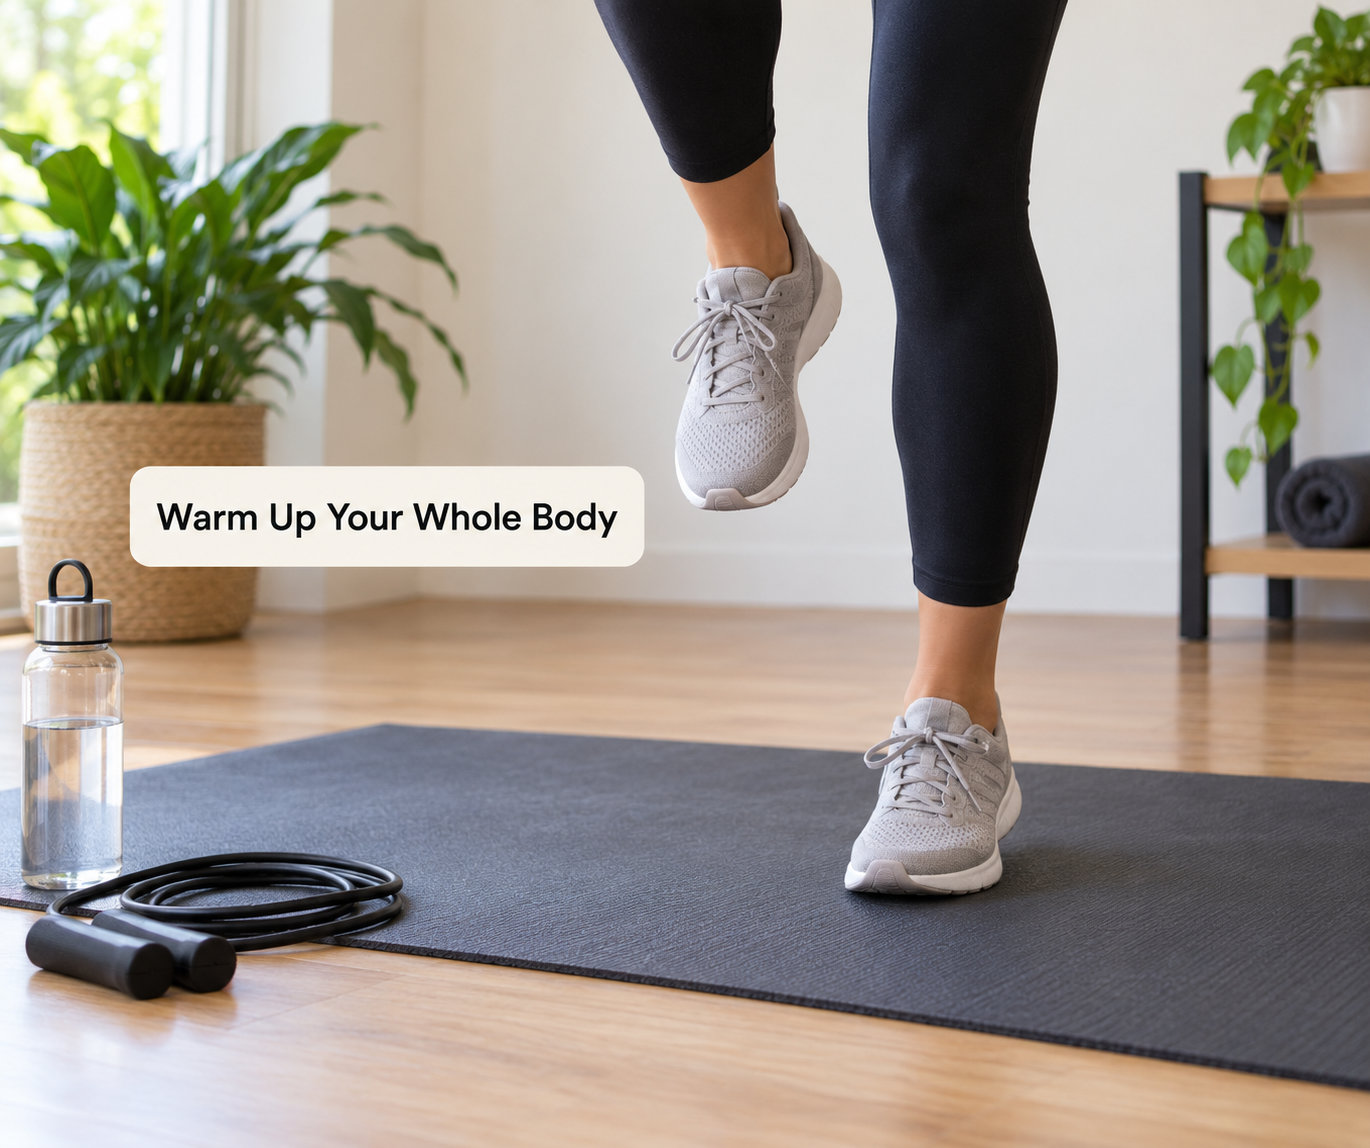
Spend 5 to 8 minutes raising your temperature before you throw a single punch. Cold muscles and cold joints are where most home-training injuries start.
- Jump rope or step jacks for 2 minutes, easy pace. If you have no rope, march or jog on the spot for the same two minutes.
- Arm circles, 20 forward and 20 back, then shoulder rolls to loosen the upper back.
- Hip circles and leg swings, 10 each side, moving slowly through a full range.
- Bodyweight squats and reverse lunges, 10 of each, with a light bounce at the bottom.
- Fast feet on the spot for 30 seconds to get the ankles and calves firing.
You’ll know it worked when you can move through a full range without stiffness and your breathing has come up but you’re still able to talk.
2. Learn Your Stance and Guard
Most beginners start orthodox, which means left foot and left hand forward. Southpaw is the mirror image and is just as valid, so pick whichever feels balanced and don’t switch for months.
Set your feet about shoulder width apart, lead foot slightly forward, knees soft, weight on the balls of your feet, and keep your chin tucked down behind your front shoulder. Your fists sit at cheekbone height, elbows in and down, forearms vertical. Turn the elbows slightly inward so your ribs cover your liver, because a body shot that lands because you left an elbow out wide is a lesson you only need once.
Two rules beat everything else in this section. Return both hands to your face after every punch. And never let your chin rise to look at your hands, because the chin is what a punch finds first.
The common name for that flaw is chin-in-the-air, and it turns up more often than any other in beginner shadowboxing. The cure is simple and slightly counterintuitive: relax your shoulders and let your guard sit where your hands naturally rest, rather than lifting it up to look ready.
3. Build Your Footwork
Footwork is the part you can develop fastest at home and the part most beginners skip. It’s also what separates a real boxer from someone throwing punches in a gym.
Start with the bounce: a small, rhythmic rise and fall through your knees, heels barely leaving the floor. About one bounce per second is a reasonable starting rhythm. Keep your hands up the whole time.
Then practise moving forward and back in straight lines without crossing your feet. Move back by pushing off the ball of your lead foot first, forward off the ball of your rear foot, and always let your rear foot follow your lead foot. Practise pivoting on the ball of your rear foot so your hips can turn without dragging your back foot.
You want to travel at half speed. If you’re bouncing higher than your knees, you’re moving too fast to control your shape. Work three minutes of footwork before you add punches, and film yourself from the side once a week, because the head and the rear foot almost always drift out of line and you cannot feel it happen.
4. Practice Shadowboxing Technique
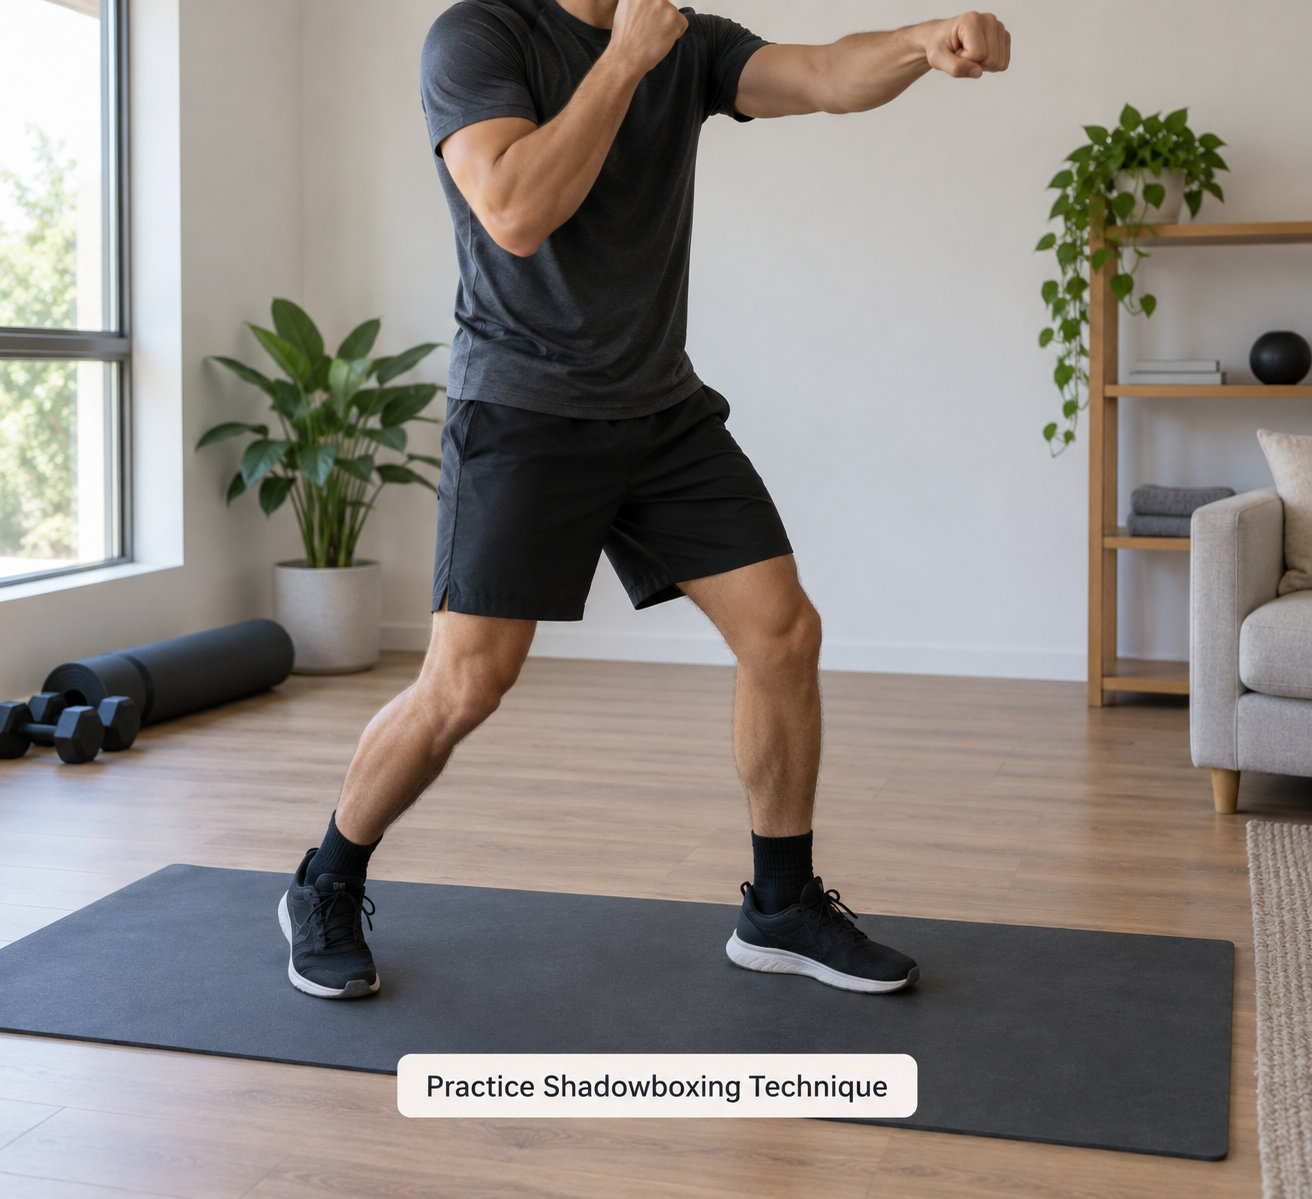
Shadowboxing is the most valuable thing you can do at home and the most over-estimated when it’s done badly. Slow, correct repetitions teach far more than fast, sloppy ones.
Work the four punches in order of difficulty. The jab goes straight out from the lead hand with the palm down and comes straight back. The cross starts with a pivot on the rear foot and the rear hip turning through, fist landing with the thumb side down. The lead hook travels around rather than across, elbow bent at ninety degrees. The uppercut rises from the legs and the rear hand, not from the arm.
Exhale sharply as each punch lands and inhale on the way back. If you hold your breath, you’ll notice your face reddening within the first round.
Then add defence, because a boxer who only throws punches has learned half the sport. After every combination, slip to the outside, bob down under an imaginary hook, or roll underneath one. Practise the pull back too, dragging your head off the line and resetting behind your hands.
Your first sessions should be 3 minutes on, 1 minute rest, four rounds total. Combinations to work: jab, jab-cross, jab-cross-lead hook, then add an uppercut. Keep combinations to four punches or fewer until the return to guard is automatic.
5. Add Safe Home Conditioning
Boxing conditioning is interval work, because the sport itself is interval work. Three minutes hard, one minute rest, repeated. That single format is why boxers tend to recover faster than people who only jog.
Pick one of these for your finisher and keep the pace where you could still hold a conversation.
- Shadow rounds — 6 rounds of 3 minutes with 1 minute rest. The most specific to the sport and the best default.
- Rope intervals — 8 sets of 45 seconds jumping, 15 seconds resting, then 2 minutes of shadowboxing.
- Bodyweight circuit — 40 seconds each of burpees, mountain climbers, squat jumps and shadowboxing, then 20 seconds rest, repeated three times.
Watch your heart rate rather than your ego. If you cannot finish a round without bending over, the work interval is too long. Cut it to 2 minutes and rebuild from there.
Skip burpees and squat jumps until your wrists and knees are used to the impact. Pounding out burpees in week one is how people quit in week two.
6. Finish With a Cool-Down
Drop your intensity rather than stopping dead. Two minutes of easy walking or a rope, breathing through your nose, brings your heart rate down gradually instead of dropping it off a cliff.
Then take 3 to 5 minutes for gentle static work: triceps and chest stretch, a lat stretch with one arm overhead, hamstrings, hips and calves. Hold each for 20 to 30 seconds and breathe normally.
Have water before you feel thirsty. Most sessions end before dehydration starts, so the water you drink during the workout does most of the work.
Common Mistakes
These come up repeatedly on boxing forums, and most of them are free to fix.
- Loading your punches. You’re tightening the arm and driving the fist forward instead of letting the hips start the motion. Fix: throw at half speed with a loose arm, and feel the fist arrive from hip rotation.
- Chin in the air. You look down at your hands between punches. Fix: fix your eyes on a spot at chest height and keep the chin behind the lead shoulder.
- Standing too close. You’re inside a range where nobody could actually land a straight punch. Fix: measure it with an outstretched arm and take that distance back.
- Leaning forward. Weight drifts over your lead foot, which kills power and wrecks your footwork. Fix: bounce with the weight centred and check yourself side-on in a mirror or on video.
- Dropping your hands. The most common flaw in shadow rounds, and it is a guard problem rather than a power problem. Fix: shadow 30 seconds, then punch 30 seconds, and repeat so returning to guard becomes a habit.
- Using the bag to lean. You push the bag off you and use it for balance. Fix: push off the ball of your foot, keep the bag in front of you and move around it instead of through it.
- No exhale. You hold your breath on impact, which tires you out three times faster. Fix: breathe out sharply on every punch, in through the nose.
- Training through joint pain. Wrist, elbow or shoulder ache that gets worse round to round. Fix: stop, and see a doctor or physiotherapist if it persists. General information here, not a diagnosis.
Beginner Training Tips
Start with four days a week, not seven. Four sessions is the sustainable number most people land on. A workable split: technique and shadowboxing on one day, conditioning on another, footwork and defence on a third, and a lighter technique session on the fourth. Leave three full rest days.
Ramp slowly for four weeks. Week one is four rounds total across the week. Week two is eight. Week three is twelve, with one interval extended to 90 seconds. Week four holds at twelve rounds and adds defence under fatigue. Adding rounds before your technique holds together is the most common reason self-taught boxers plateau.
Measure progress without a coach. Film one round a week from the side. Track whether your guard returns after every punch, whether your head stops moving forward, and whether you can shadow longer without your form falling apart. Those three things improve long before power does.
Beat the boredom. Solo shadowboxing goes stale within weeks, and repetitive sessions are how people quit. Randomise the work: pick your combinations from a list at random each round, or have an app call combinations out at unpredictable intervals so you have to react rather than recite.
Protect your hands from day one. Wrap before any bag work, and if you skip the bag for a week, come back at half speed for the first round. Wrapping and knuckles need less warning than you think.
Know the ceiling of solo training. A home setup teaches stance, footwork, punch mechanics, conditioning and the work ethic. It cannot teach timing against a moving opponent, what to do when you get hit, or whether your guard actually survives contact, because there’s no feedback without a coach or partner. If you want to compete or spar, that gap has to close somewhere.
Know when it’s time for a gym. Join one when you can hold decent form for a full round, when your ceiling plateaus, or when you want sparring and pad work. Most gyms run beginner courses that teach technique far faster than any home plan, and they pair you with a partner who can react to your punches.
Watch your weight, but be realistic. A boxing session burns a serious number of calories, but training is one variable. Diet does the rest, and most people see the physique changes they expect once training and eating are both consistent.
This plan is current as written in 2026 and works with zero equipment. Two short sessions a week, technique first, and give it six weeks before you judge it.
Frequently Asked Questions
Do I need a heavy bag to train like a boxer at home?
No. Stance, footwork, guard, defence and conditioning all come from shadowboxing, and that covers most of what a home boxer needs for months. A heavy bag adds resistance, feedback on your timing and a satisfying target, but it is a later upgrade rather than a requirement. Wraps and gloves matter far more once you do hit a bag, because they protect your wrists and knuckles.
How long should I train at home as a beginner?
Around 25 to 30 minutes per session is plenty to start. A five to eight minute warm-up, four three-minute rounds with one minute of rest, and a three to five minute core finisher fills that neatly. Three to four sessions a week will build fitness faster than one long session. Lengthen the rounds or add a fifth round only once the shorter session feels easy.
Is shadowboxing enough to get fit for boxing?
Shadowboxing alone will genuinely condition you, because three-minute rounds with one minute of rest is interval work and your heart rate behaves the same way. It also builds footwork timing, guard discipline and technique, which many cardio workouts never touch. What it cannot do is simulate contact, timing against movement or a partner’s reactions. Add rope work and bodyweight conditioning to round it out.
What is the best beginner boxing workout for home?
A 20 to 25 minute session with five minutes of jump rope or dynamic warm-up, four rounds of shadowboxing built around jab-cross and the return to guard, and a short finisher of burpees or rope intervals. That structure mirrors a real gym round format, which makes the habit transfer straight to a club. Keep the work intervals at a pace where you could still talk.
Can I do a boxing workout every day?
Not as a beginner. Daily boxing training without rest days leads to cumulative joint stress in the wrists, elbows and shoulders, and most injuries happen on days when technique has already slipped. Four sessions a week with three full rest days is the sustainable split that works best. On rest days, a walk or some mobility work is plenty.
When should I work with a qualified boxing coach?
Once you can shadowbox a full three-minute round with your guard intact and your footwork still tidy, you have enough base to benefit from correction. A coach is also the only way to learn timing against movement, how you move your head under pressure, and how you actually fight. If you want to compete or spar at all, treat coach-led pad work as a requirement rather than an upgrade.
Start small. Two short sessions this week, both focused on stance and footwork rather than how hard you can hit, and save the conditioning rounds for week three. That is the whole plan, and it is more than enough to get moving.