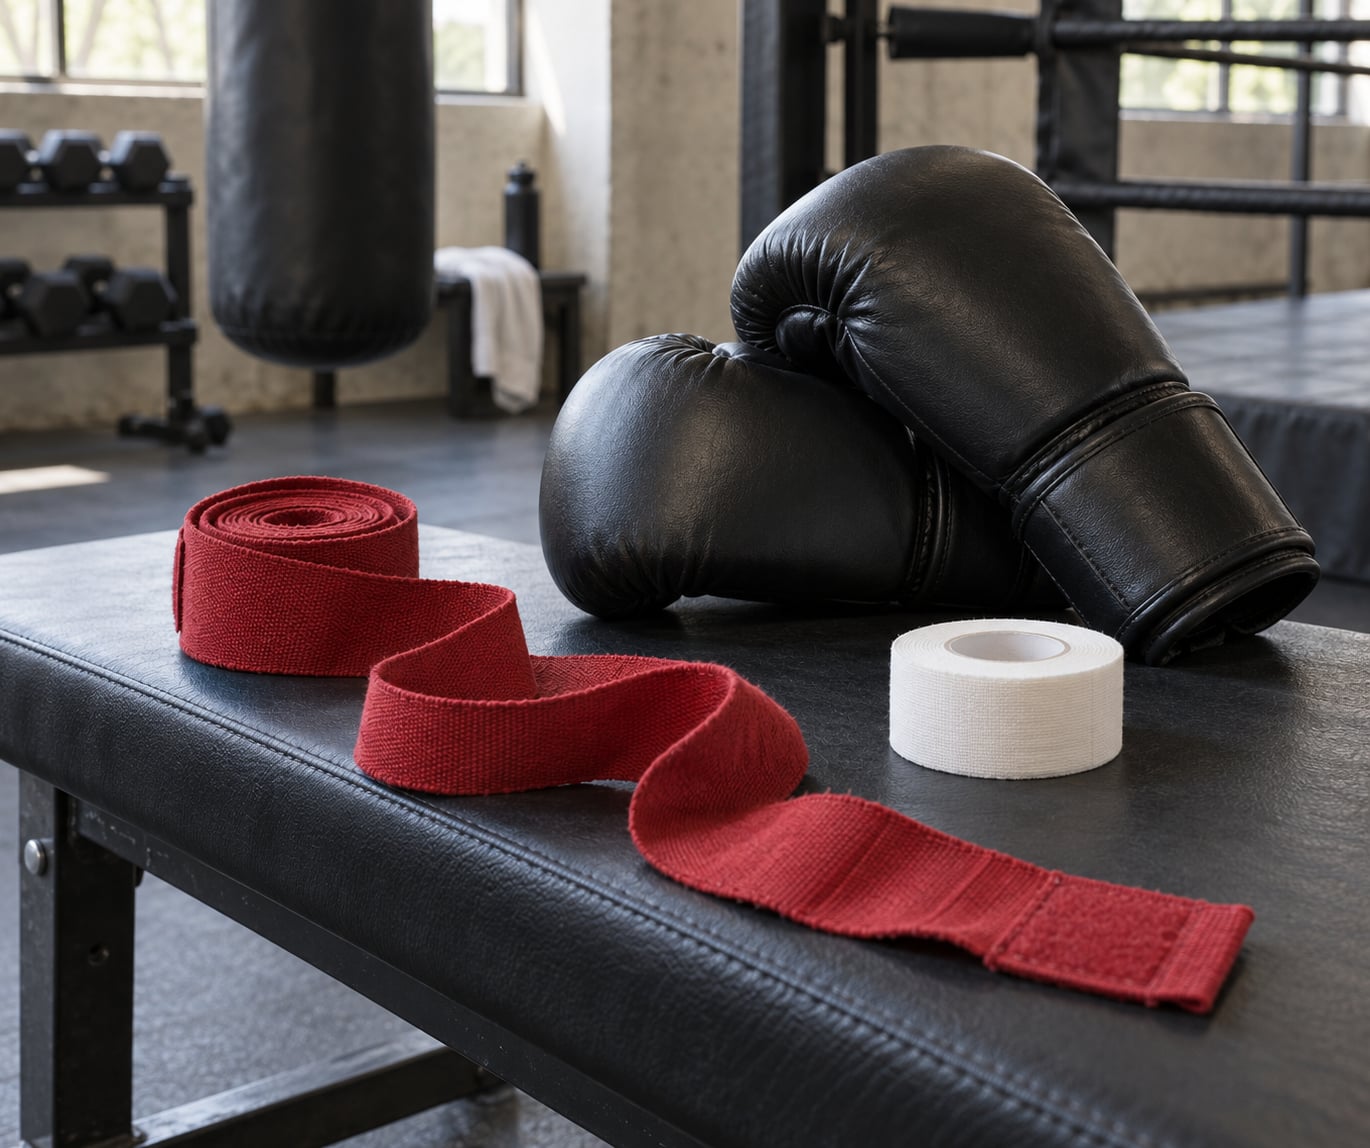
Wrapping your hands for boxing takes about a minute once you have the sequence down: loop the wrap around your thumb, anchor it with two or three passes around the wrist, build three passes across the knuckles, weave between the fingers, lock the thumb and secure the tab at the wrist. A good wrap feels loose with your hand open and pulls into one solid fist when you close it.
That last line is the whole trick, and it is also where beginners go wrong. Most people pull the gauze tight enough to worry about it, then finish a session with numb fingers and a weaker punch. Wraps do not cushion anything — your boxing gloves do that. Wraps bind the small bones and joints of your hand together and brace the wrist so it cannot fold sideways on impact.
This guide walks through the traditional closed-gauze wrap for the left hand first. Your right hand is the mirror image, and there are notes on that below. Nothing here needs equipment beyond a wrap and, optionally, a short length of medical tape.
Table of Contents
What You Need
The materials list is short, but two choices matter more than the rest: wrap length and wrap stretch.
- A boxing hand wrap. Semi-elastic (often called a Mexican wrap) is cotton with a small amount of give. It supports well and stays comfortable through long sessions. Fully inelastic cotton wraps feel stiff, loosen fastest, and are a poor first choice.
- The right length. A 180 inch wrap is the standard and gives you enough material for a proper wrist anchor, three knuckle passes and a thumb lock. A 120 inch wrap works, but it runs out sooner, which is exactly where small-handed boxers get stuck.
- Medical tape, optional. You do not need it for a normal wrap with a hook-and-loop tab. It earns its place in a corner, where a trainer uses it to anchor the wrap before a glove and, in amateur competition, to cover small gaps in the wrap itself. Check the rule set of the sanctioning body before you tape in a tournament.
- Scissors, optional. Handy for cutting a wrap that is wearing out or for opening a package without tearing the gauze.
- Clean, dry hands. Sweat is the main reason a wrap slips mid-session, and damp skin under gauze is a recipe for blistering.
- Optional wrist support. Useful if you are returning to training after a wrist injury, but it is not a substitute for learning tension.
Width is the other decision. Two inch wrap suits most adult hands. Three inch is generous and works well if you plan to fold extra material over your knuckles. Narrower one and a half inch wraps are sized for younger or smaller hands.
| Wrap length | Who it suits | Watch out for |
|---|---|---|
| 180 inch semi-elastic | Most adults, all training | Bulky if you wrap too tight — keep layers flat |
| 120 inch semi-elastic | Small hands, travel, quick sessions | Runs out before the thumb lock on larger hands |
| Gel or quick-wrap system | Occasional light training | Does not tighten the fist the way gauze does |
If you already own 120 inch wraps and have small hands, the fix is simple: fold the wrap back on itself two or three times before you start, which creates extra bulk at the knuckles and buys you the length you are missing. Fighters who do this report a tighter, cleaner result than the standard route.
Step-by-Step: How to Wrap Your Hands for Boxing
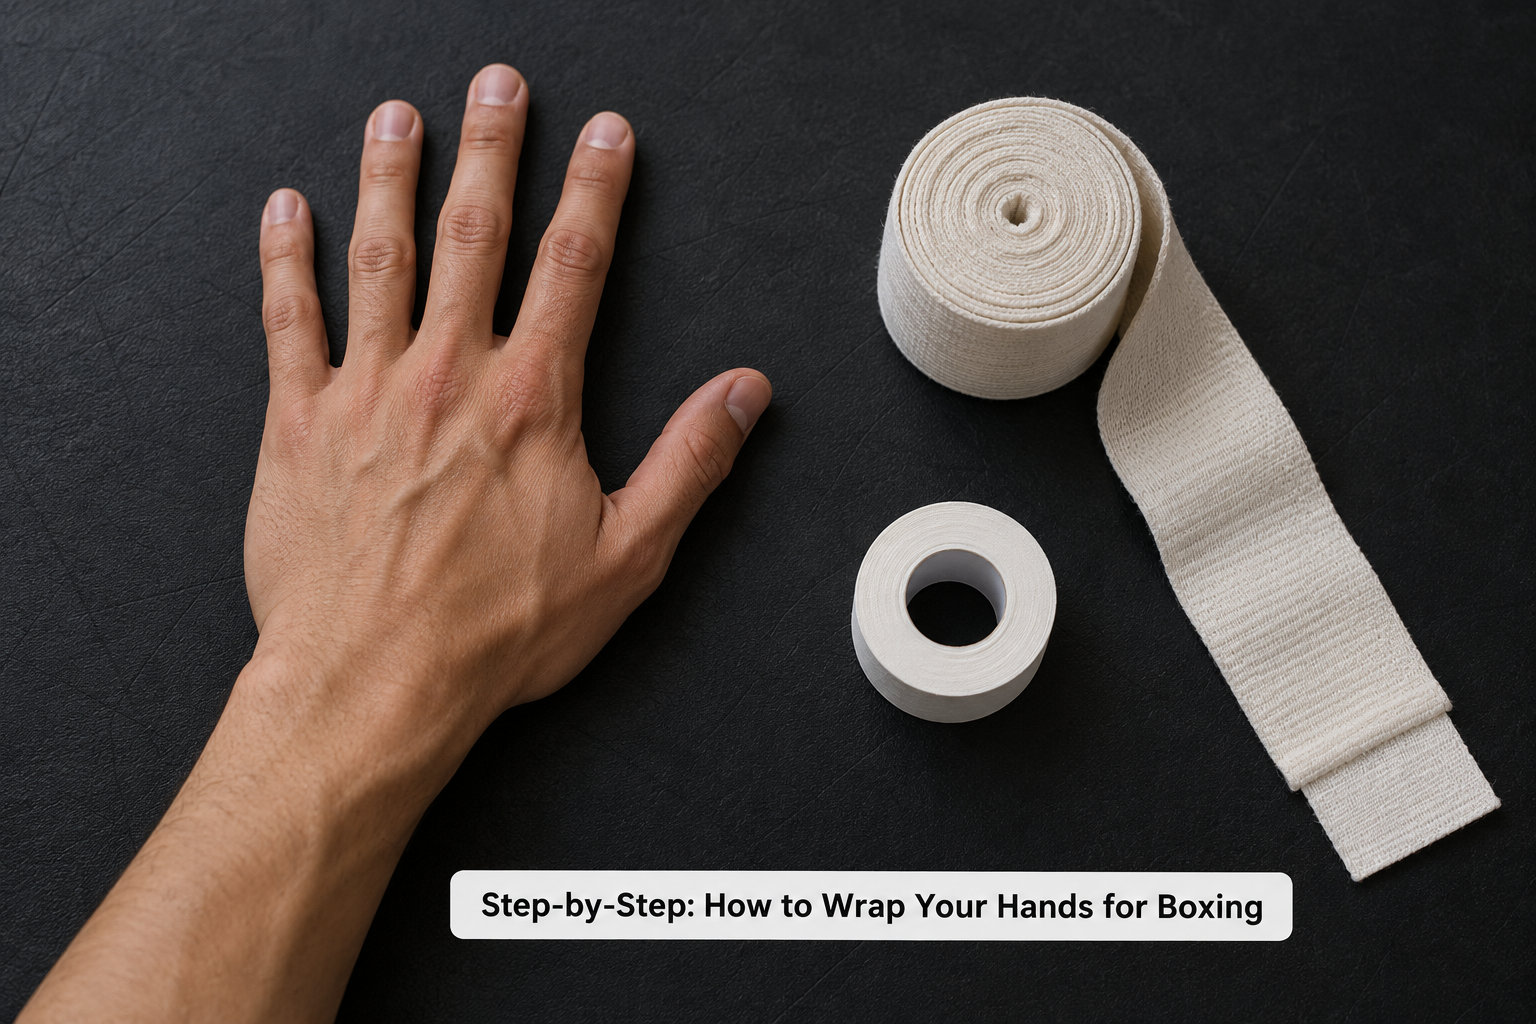
1. Check Your Hands and Prepare the Wrap
Wash and dry your hands properly, then look at them. Trim or file a nail that catches, and check the skin between your ring and little finger, where wraps rub hardest. If you have an open cut or a fresh blister, leave it uncovered and get advice from a doctor or pharmacist rather than sealing it under gauze.
Loose the wrap until it unrolls in a lazy spiral rather than a tight curl. Working from a rolled tangle is the reason first attempts unravel halfway through.
Find the looped end and the hook-and-loop tab before you start. The loop goes on the thumb; the tab seals the end of the wrap. If your wrap has no loop, you can make one by folding the first inch back on itself and tucking the end under.
2. Secure the Wrap Around Your Thumb
Slip the loop over your thumb and let it sit roughly an inch down from the tip, hanging toward your palm. Keep your hand flat and your fingers straight — wrapping with a closed fist bunches the material at the knuckles and is a common cause of mid-knuckle soreness.
Bring the working end across the back of the hand and around the wrist. Then take two or three passes around the wrist, snug but never squeezing. You should be able to slide a finger under each pass, and your wrist should stay straight rather than bent back.
Those first passes are the anchor for everything that follows. Too loose and the wrap works loose over a session; too tight and you cut off circulation in your hand before the first punch.
3. Wrap the Knuckles and Back of the Hand
From the wrist, run the wrap diagonally up across the back of the hand to the base of the little finger side, around the three middle knuckles, then back down to the wrist. Do that three times, shifting each pass a little so the strip overlaps itself by about half its width.
Keep the material flat and thin. Never run it across the palm side during these passes — palm-side routing stays slack when you close your hand, and it takes the support away instead of adding it.
After three passes the knuckles should look bandaged, not padded. If you cannot fully open your hand without the wrap fighting you, you have too much material in the middle.
4. Wrap Across the Palm and Wrist
If you have length left, take one supporting pass across the palm and back to the wrist, then fill any gaps with one or two more wrist passes. If you are on a 120 inch wrap and nearly out of material, skip the palm pass and spend what remains on the thumb lock instead.
Next, spread your fingers and weave the wrap between them, drawing an X across the back of the hand each time. Whether to cross the ring and little finger gap is a matter of preference; plenty of fighters skip it because the X rubs that knuckle. Skip it too if yours gets sore.
Now circle the thumb once, then run the end back to the wrist. That thumb lock is what stops the wrap unravelling mid-session.
On snugness, aim for support without stiffness. A wrap that locks your wrist completely makes straight punches feel easy and hooks and uppercuts awkward, because those shots need wrist rotation. Check the site for what that angle should be, or ask a coach.
5. Secure and Check the Finished Wrap
Close the hook-and-loop tab at the wrist or just above it, on the underside where it will not press against the wrist bone when the glove closes. Do not tape the material across a joint.
Now run the checks. Make a fist: the wrap should tighten across the whole hand and feel like one solid piece, which is the description regulars keep coming back to — hands that feel like clubs at the end of your arms. Open your hand again: it should feel noticeably looser than the fist.
Check the colour of your fingers. Pink is right. White, grey or numb fingers mean you need to unwrap and start over. Put the glove on, close it fully and work the fingers; if the wrap bunches inside the glove or forces your thumb sideways, your layers are too thick.
For your right hand, work the same sequence in reverse: thumb loop on the other side, diagonal passes going the other way across the back of the hand, same three wrist passes, same thumb lock. Practice it slowly at home, because wrapping one hand while holding pads for the other is the part nobody finds natural at first.
Common Mistakes and Fixes
Almost every wrapping problem falls into one of these. Work down the list until the symptom disappears.
- Wrapping too tight. The most common error by a distance. If you are bracing against it while you wrap, you are too tight. Unwrap and redo it with about half the effort — you should be able to fit a finger under every wrist pass.
- Uneven tension. Most passes are snug, then one gap gets yanked tight to finish. Fix it by rebuilding rather than patching: a loose spot halfway through a wrap is faster to fix by starting over than by adding tension later.
- Skipping the thumb support. Without the loop and the final thumb lock, the whole wrap twists the moment you throw a hard punch. Add the loop first and the lock last.
- Twisting the wrist. Keep the wrist straight as you work. Twisting it to reach the wrap turns the next pass into a torque on the joint.
- Bulky layers. Folding the wrap back on itself four or more times creates a knuckle pad that is comfortable but stops your hand closing properly. Two folds is plenty.
- Wrapping with a closed fist. This bunches material across the knuckles and shows up the next morning as mid-knuckle ache. Keep the hand open and flat until the wrap is finished.
- Running the wrap across the palm. Slack on a closed hand means slack on impact. Route the knuckle passes over the back of the hand.
- Tab in the wrong place. A Velcro tab or tape strip sitting on top of the wrist bone digs in during long rounds. Move it to the underside of the wrist.
- Rubbing between the ring and little finger. Shift the layers slightly each pass, or leave that finger gap unwove.
Persistent pain, swelling or numbness that does not clear after you unwrap is not a wrapping technique to solve. Stop training, and see a doctor or physiotherapist — particularly if the hand has been taking heavy bag work without wraps.
One last correction worth making early: wraps do not cushion your knuckles and they will not make you punch harder. Gloves absorb impact; wraps keep the hand from collapsing when the glove lands. That is why a properly wrapped hand feels firmer and gives you confidence to actually throw the shot.
Frequently Asked Questions
How tight should boxing hand wraps be?
Snug enough that the wrap does not shift when you make a fist, loose enough that you can slide a finger under every pass. You should feel almost nothing while the hand is open. If you are bracing against tension as you wrap, it is too tight. Re-wrapping too loosely is safer than too tight, since a loose wrap can be fixed mid-session.
Should I wrap my thumbs when boxing?
Yes. The looped end goes around the thumb near the tip, and the wrap is finished with a pass around the thumb base that locks the whole thing in place. The thumb is a common injury site in sparring, and skipping thumb support lets the wrap rotate and unravel the moment you throw a hard cross. It takes about five seconds and it is not optional.
How long should a pair of boxing hand wraps last?
Expect roughly six to twelve months of regular training, less if you train daily or sweat heavily. Replace them when the fabric goes thin or furry, when the hook-and-loop tab stops holding, or when the wrap no longer tightens into a firm fist. Cheap wraps that have gone limp are worse than no support, because they give you the feeling of support without the structure.
Can I use hand wraps without tape?
Yes, and for most training you should. A 180 inch semi-elastic wrap with a hook-and-loop tab does the whole job on its own, and adding tape underneath only adds bulk and can irritate skin. Tape earns its place in a corner or in amateur competition, where sanctioning rules may allow it to cover small gaps. Check your tournament rules before you compete.
What type of hand wrap is best for beginners?
A 180 inch semi-elastic wrap, often sold as a Mexican wrap, in two inch width for an adult hand. Semi-elastic cotton stretches just enough to feel supportive without squeezing. Fully inelastic wraps are stiffer, lose tension faster and tend to cut into the wrist. Gel and quick-wrap systems are fine for occasional light work but do not tighten into a fist the way gauze does.
How do I know if my hand wrap is too tight?
Close your fist and open it again. If your hand feels only marginally tighter in a fist than it does open, the wrap is not supporting you. If your fingers go white, numb or cold, it is far too tight — unwrap straight away. Tingling and white fingertips are the clear stop signal, and they should never be something you push through.
Wrapping Your Hands: What to Check First
Start with the fist test. Wrap your hands, close your fist, and see whether the wrap pulls into one solid piece. If it feels loose, uneven or bumpy, take it off and do it again at about half the tension you used the first time.
If you are still unsure after a couple of attempts, ask a qualified boxing coach to demonstrate the sequence on you once. Ten minutes of correction there saves months of sore knuckles.
And stop immediately if a wrap causes pain, numbness or discoloured fingers. Those are not things to train through — unwrap, and if the hand stays painful or swollen, get it looked at by a doctor. That is the whole method: loop, anchor, knuckles, weave, thumb lock, secure, and check.