To move your head in boxing, shift your weight onto one leg, snap your head a few inches off the centerline so the punch passes by, and keep your hands up with your chin tucked behind them. The whole thing is short, relaxed and repeatable, and you can start learning it alone in front of a mirror.
Most beginners get this wrong by trying too much. They swing their head across a foot of space, tense everything up, and then wonder why they get hit anyway. Good head movement is the opposite: small, quiet and timed to what you actually see.
Updated October 2026. Written for someone who has never done it.
Table of Contents
What You Need
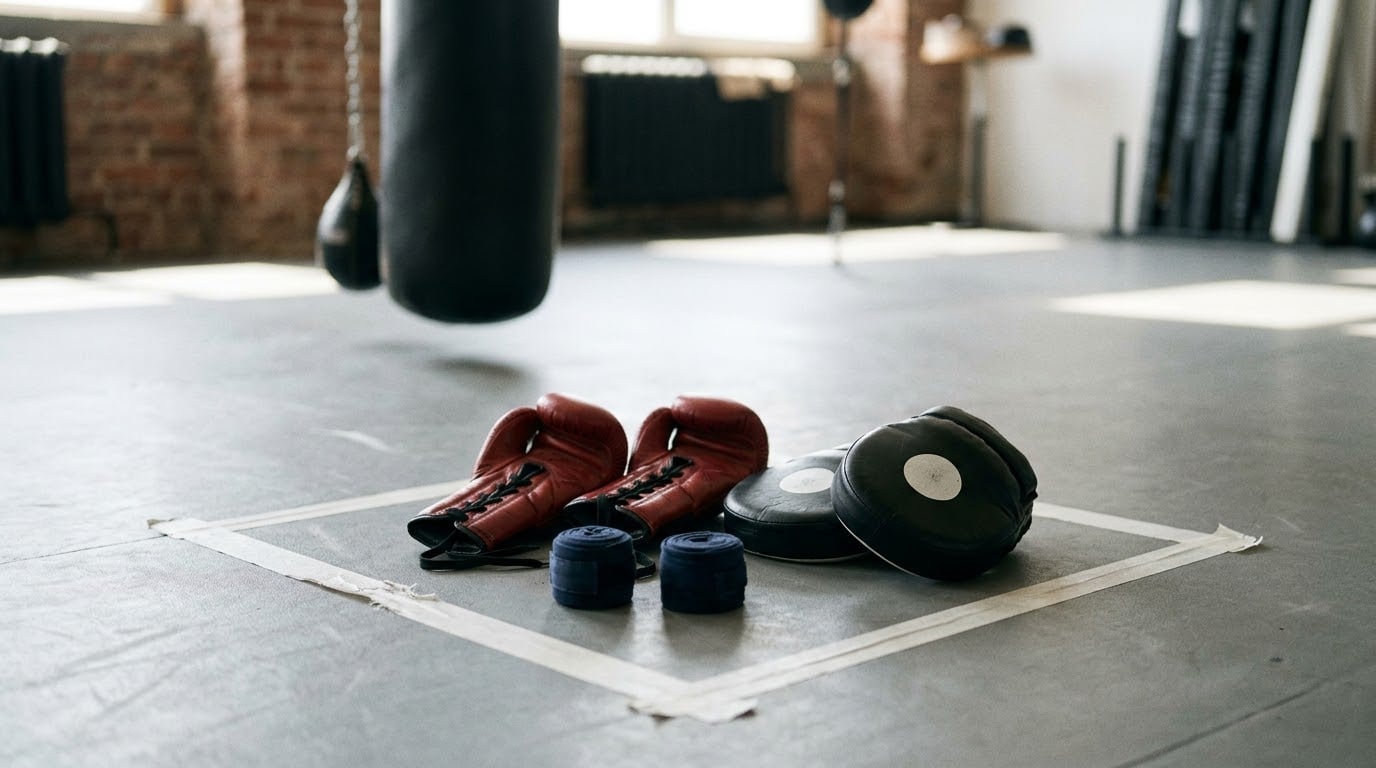
You need very little to start. A clear patch of floor about six feet square is enough, and tape on the ground gives you a reference point so you can tell whether you are drifting.
- Floor space and a taped mark so you can check your stance and your depth of slip repeatably.
- Hand wraps if you are shadowboxing hard. Wrapped knuckles are the difference between a sore hand and a sprained one.
- A wall or mirror to watch your own shoulder and hip action. The head is hard to see, the hips are easy.
- Focus mitts, optional. They add value once the movement is clean, because they force you to react to something rather than to a memory.
- Headgear, optional. Useful for the first few sessions of partner work so a mistimed punch teaches you something instead of ending the night.
- A qualified coach, ideal. Even a few sessions early saves months of building a habit that has to be unlearned later.
Step-by-Step: How to Move Your Head in Boxing
There are six steps to how to move your head in boxing, and the order matters. Beginners who start with speed, power or reactive reactions build tension into the movement and have to strip it back out. Master a compact, controlled movement first, then make it faster.
1. Start from a Stable Boxing Stance
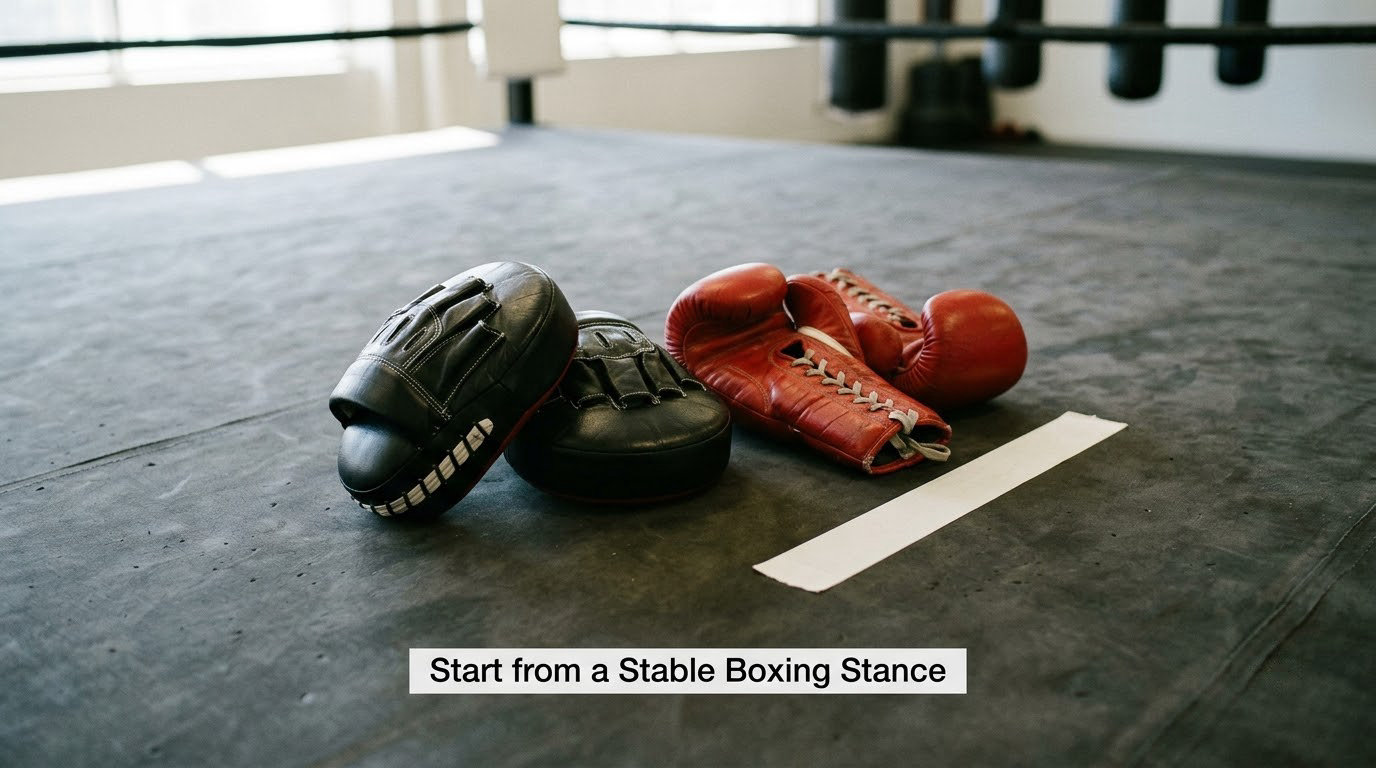
Everything starts with the floor. Feet shoulder-width apart, lead foot angled slightly forward, weight sitting around 55 to 60 percent on the back leg and the rest on the front.
Bend the knees, keep the back heel light, and let the chest sit up rather than hunched. Hands at cheek level, elbows in, chin tucked down behind the lead shoulder so the chin is the last thing a punch finds.
How to check it worked: you should be able to lift one foot off the ground without wobbling much. If you cannot, your weight is too evenly spread and the slip will have nothing to push off.
2. Keep Your Eyes on Your Opponent
You cannot slip what you do not see. Most slipped punches that land are not timing failures, they are looking failures.
Keep your eyes on the opponent’s chest or shoulder line, not on their gloves and not on the floor. Your chin can hide behind your hands without your eyes leaving them.
Think long neck and relaxed face. Cranking your chin down by squeezing your neck traps tension in the exact area that needs to be loose, and you will feel it in the first thirty seconds of a round.
3. Slip to the Side Correctly
A slip is a short lateral move off the centerline, roughly the width of a glove or a few inches at most. It is driven by the legs and hips, not by the neck swinging your head sideways.
Push off the floor, transfer your weight onto the leg you are moving toward, and let your head travel with the shift. Your chin should end up behind your lead shoulder, not swinging out past it.
Then come back the other way and return your head to a position just off the center rather than straight back down the middle. That return path is the part people skip, and it is where they eat the next punch.
How to know it is controlled: you can do twenty slow ones without losing your footing or holding your breath. Controlled, not gentle, is the target.
4. Slip Outside the Centerline
Here is the part that confuses beginners. The goal is not to move far, it is to get your head off the centerline by enough that a straight punch travelling down that line misses by a couple of inches.
Any more than that and you have created a new problem. An exaggerated slip takes you out of range, out of position to counter, and often off balance, because you are moving your whole body to escape a jab.
There is one more piece worth adding. If you rest your head slightly off the centerline while you are standing still, you open up three exit directions instead of two, because a small pre-existing angle makes the first slip much shorter.
That short first slip is also the counter window. A practical rule: throw your answer from the side you just slipped away from, because your hand is already loaded and in position there.
5. Roll Under a Straight Punch
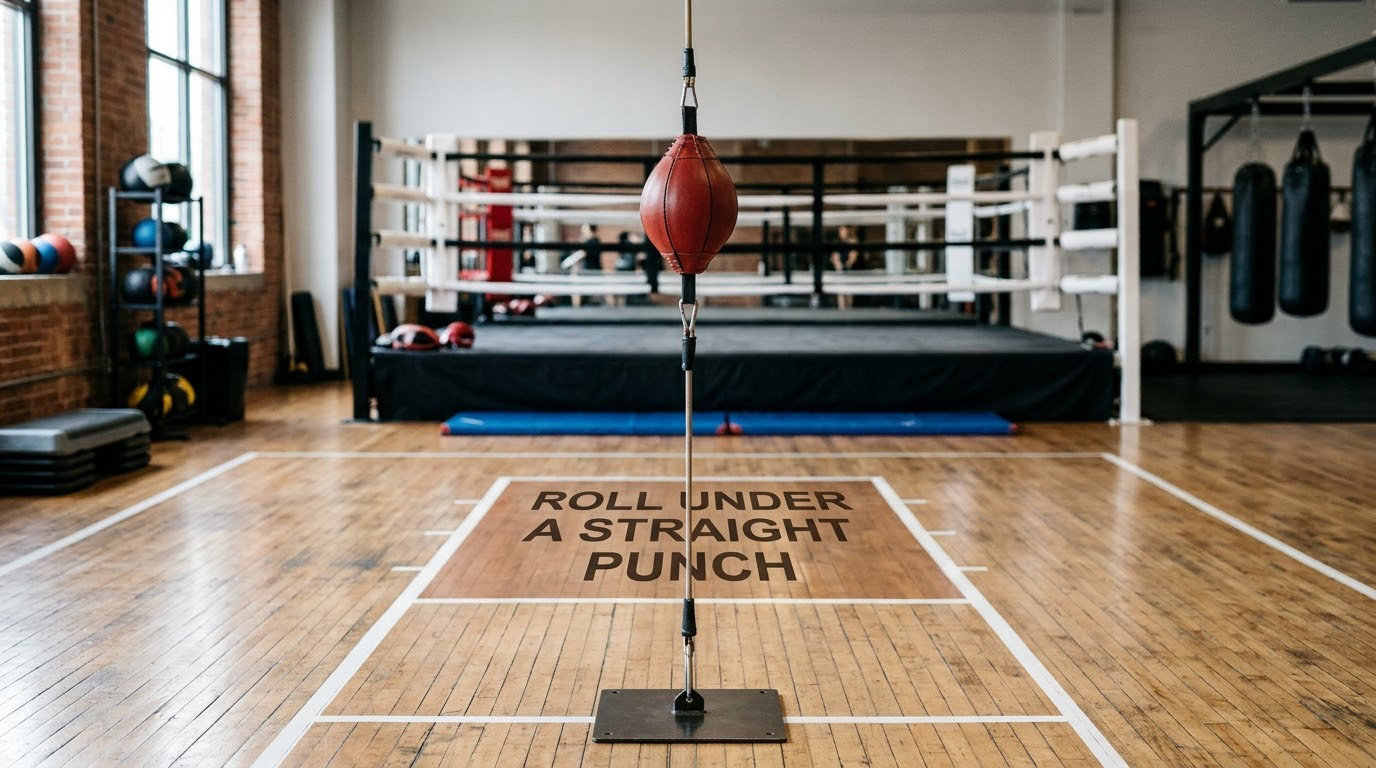
A roll is the vertical answer. Where a slip goes side to side, a roll takes your head down and under a punch that is travelling across, and it is the main answer to a hook or a looping uppercut.
Drop your level by bending your knees, not by folding at the waist. Your head travels underneath the line of the punch, your chin stays tucked, and your hands come slightly down and tight to your body rather than flaring out.
The failure to avoid is letting your chin cross your own knee. The moment that happens you have stopped moving under the punch and started crouching, which means your eyes are on the floor and your hands are nowhere near a counter.
Think of rolling with the direction of the punch, taking speed off it as it passes. That single idea does more for your confidence than any drill, because it turns a frightening movement into a small, manageable one.
6. Add Speed, Power and Reactions
With the movement clean, speed up in stages rather than all at once. Shadowbox the slip and roll at half speed for a few minutes, then at full speed, then add a punch on the exit so the head movement and the counter happen as one motion.
Mitts come next. Ask your partner to hold the hands still and call the shot, then start adding feints and level changes so you are reacting rather than rehearsing.
How to tell your reactions are improving: you start moving just before the punch arrives instead of after, your head position changes with what your partner is doing rather than on a fixed rhythm, and you can slip while throwing a punch instead of going still the moment you load one.
The hardest thing to learn here is going slightly off the centerline and back in, because it cuts across your own natural line. Leave that for months, not weeks.
Common Mistakes
These eight errors come up more than any others, each with the correction that actually fixes it.
- Moving the head with the neck only. The head leads and the body follows, which is slow and costs balance. Push off the floor and let the hips carry the head.
- Moving too far. A few inches off the line is enough. Overshooting takes you out of range and out of position to answer.
- Moving before the punch instead of after. Guessing means slipping into a punch that was never coming. Wait until you see the shoulder or the glove commit.
- Losing sight of the opponent. A slip that ends with the eyes elsewhere just makes the next punch easier. Return the eyes to the chest as you return the head.
- Holding the hands welded to the chin. It tires you out fast and kills every counter. Let the hands come down and tight as you slip, then bring them back up on the exit.
- Going completely still when punching. You become a stationary target the moment you load a shot. Slip and roll between your own punches, not only when you are defending.
- Tension everywhere. Clenched jaw, raised shoulders, tight forearms. The movement collapses after about half a round. Breathe out on the slip and let the shoulders drop.
- Leaning backward to escape a straight punch. It works once and then it becomes a habit you cannot break. Step back off the line or pull your head back with your body weight behind your feet, not with your spine arched.
One honest note: a slip that drops you below knee level, or a duck so deep that you cannot see, is a bad slip. If you cannot see the opponent and your hands are not ready, you have moved out of the exchange entirely rather than staying in it.
Training Tips for Better Head Movement
Frequency beats long sessions. Fifteen minutes of focused slip and roll work three or four times a week will build more control than an hour of unstructured shadowboxing once a week.
Quality over repetition is the other half. Ten slow, balanced repetitions with a coach watching your hips will beat a hundred rushed ones, and the rushed version is what teaches you to panic.
Keep your shoulders down and your breath coming. If you are holding your breath through a set, the movement is too tense to be useful.
Tie the head work to your footwork. Rocking on the back leg and turning the torso lets the head move while your feet stay nearly still, which is what you want when you are pinned on the ropes or backing up.
Manage fatigue honestly. Almost everyone reports that their head movement falls apart late in a round, and it is almost always tension and heavy breathing rather than a technique problem. Slow the pace down before your form goes.
Work with a coach when you can. A partner or coach can see the head position you cannot feel, and that is the difference between practicing and correcting.
Frequently Asked Questions
Should my head movement feel hard?
No. If the movement feels hard, something is usually tight. The best slip and roll come from bent knees, a relaxed jaw and loose shoulders, not from trying to force your head somewhere. Think of nudging your position a few inches rather than swinging it. If you can do twenty slow repetitions without holding your breath, you are in the right range. Add speed later, once the slow version is boring.
Does moving my head mean I stop looking at my opponent?
Never. Your eyes should stay on their chest or shoulders the entire time you are head moving. That is the whole prerequisite, because you cannot react to a punch you have not seen. Your chin hides behind your hands, not your eyes behind your gloves. If you find yourself slipping with your gaze on the floor, the slip is too big or too low and needs to shrink.
Can I practice head movement at home with no equipment?
Yes, and it is where most people should start. Mark your stance position with tape, face a mirror, and rehearse the slip and the roll slowly for ten minutes a day. Add hand wraps if you are punching hard, and add a shadow-throwing punch on every exit so the head movement and the counter stay connected as one motion. A bag or a partner makes it better later, but it is not required to learn the shape.
Is head movement better than blocking punches?
Neither replaces the other. Head movement costs almost no energy, keeps your hands free to counter and makes your opponent over-commit, so it is the better first answer when you can see the punch coming. Blocking and parrying still matter against punches you cannot see, against pressure fights, and as your safety net while your reactions are still developing. Most fighters use both, choosing by what they can see.
When is it too early for me to spar?
Sparring when your head movement is still guesswork teaches you to panic, because a real opponent punishes every mistimed slip. Wait until you can slip and roll on sight rather than on a rehearsed rhythm, and until your head position survives fatigue. Headgear for early sessions helps, but it is no substitute for timing. Controlled partner work with pads comes first, and it is far cheaper than a lesson learned the hard way.
Conclusion
Start with one controlled slip and one controlled roll from a stable stance, both slow, both with your eyes on your opponent and your weight on the correct leg. Ten minutes of that, most days, teaches more than an hour of trying to look busy.
Once the slow version feels boring and you can hold your balance, add the punch on the exit. That is when head movement stops being a defensive trick and starts being the thing that makes everything else you throw work.