A strong boxing stance is a balanced, angled base you can move from without thinking: feet roughly shoulder-width apart, lead foot forward at about 45 degrees, knees soft, weight sitting mostly on the rear leg, hands up and chin tucked behind the lead shoulder. Building one takes about 15 minutes of deliberate practice, and the order you do it in matters more than the effort you put in.
Most beginners try to fix everything at once, set their feet, raise their hands, then check all of it at the same time, and end up copying a posture they have never felt working. Set one thing at a time, from the floor up, and let each piece hold before you add the next. That is how to build a strong boxing stance that survives contact.
A note on safety before we start: this is general technique information, not medical advice. Stop if you feel sharp pain in a knee, ankle, hip or lower back, and if the discomfort keeps coming back, have a doctor or physical therapist look at it before you train again.
Table of Contents
What You Need
You need surprisingly little to work on a stance. The list is short because a stance is a position, not an equipment problem.
- A flat, non-slip surface. Carpet, grass or a gym floor tile works. Concrete is fine if you have shoes with grip and you keep the volume low for the first few sessions.
- Boxing shoes or trainers with a thin, flat sole. Thick running shoes raise your heels and tilt you backward, which is the opposite of what you want.
- Gloves sized for the drill. Heavy bag gloves make fine shadowboxing awkward. Use lighter gloves or none at all while you are learning to hold the position.
- Hand wraps and comfortable athletic clothing. Nothing technical, just enough that you can move without thinking about it.
- Around three meters of open space so you can step forward, back and sideways without hitting a wall.
- A wall, a mirror or a phone camera for self-checks.
- Ideally a qualified coach or an experienced training partner. A mirror catches gross faults. Another set of eyes catches the rest.
Step-by-Step: How to Build a Strong Boxing Stance
Work through the six stages below in order. The sequence matters: your base holds the knees, the knees hold the hips, the hips hold the torso, and only then does the guard sit correctly. Skip ahead and your guard will be built on a wobbling platform.
Prioritize balance and technique over power in every stage. A stance that looks slightly wrong but feels solid is far more useful than a photograph-perfect one you cannot hold for 30 seconds. If your legs shake, narrow your base slightly or bend the knees a little more rather than gripping harder.
1. Start From a Balanced Base
Stand with your feet about shoulder-width apart, knees softened, weight dropping into the middle of both feet rather than onto the toes. You are looking for a quiet, springy base, not a rigid one.
Check three things. The knees should track over the middle of each foot rather than collapsing inward. The legs should never lock, because a locked knee has no give in it and takes the shock of a punch badly. And your weight should sit slightly toward the balls of the feet so you can lift a foot without thinking about it.
Start a little narrower than feels dramatic. Beginners who try to build a wide base immediately tend to bounce on their heels and drift forward under pressure. Narrow it once your balance holds, widen it when you need to resist a push.
2. Set Your Lead Foot and Rear Foot
Boxing has two base stances. Orthodox puts the left foot forward for a right-handed fighter; southpaw puts the right foot forward for a left-handed fighter. If you write right-handed but keep your right side back in fights and drills, southpaw may be your natural stance, and plenty of good fighters have trained that way their whole careers.
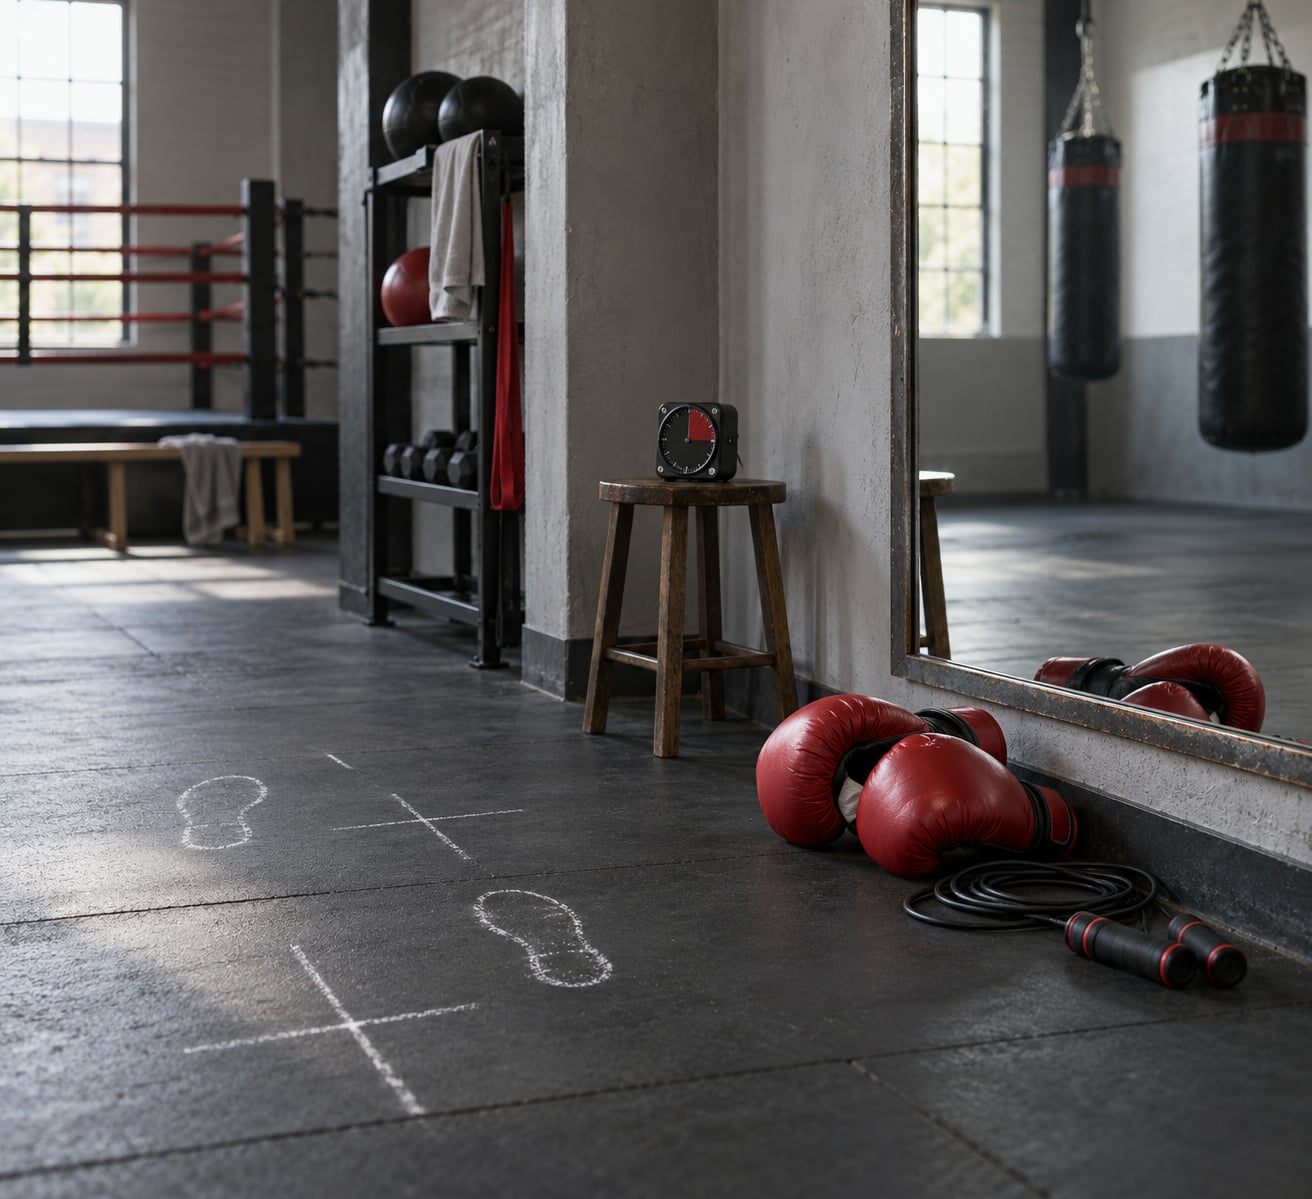
For an orthodox setup, step the left foot forward first and place it about half a foot to the front, angled roughly 45 degrees to the line facing your opponent. Then bring the right foot back until it sits under your hips, with the heel around the line of your back heel and the whole base comfortable. Mirror that for southpaw.
Two details carry most of the value here. Your lead foot stays near 45 degrees because that angle lets you fire the jab and slip away without re-setting your feet. Your rear foot angle is closer to personal preference: near 90 degrees gives a stable platform, turned slightly further in opens up the rear hip faster. Pick the one that lets you turn without your knee complaining.
Keep the rear heel light. It should be grazed, not planted. When you throw the cross, that heel lifts and the rear hip rotates, and that rotation is where a straight punch actually gets its power. A flat-footed rear side turns the punch into an arm-only swing.
3. Bring Your Hands Into a Useful Guard
With the base set, raise both hands so the lead hand sits near the cheekbone and the rear hand protects the chin, elbows in and controlled rather than flared out. Your chin tucks down behind the lead shoulder so it sits behind your hands, not above them.
The point of a guard is that it costs you nothing to hold. If your shoulders are rising toward your ears or your elbows are pointing straight out, you are bracing, and a tense upper body drains power out of every punch you throw. Relaxed shoulders, chin down, hands where they can block a straight and start a hook without a big adjustment.
Keep both eyes visible past your hands. If you cannot see the room through your guard, your hands are too close together or your head is tucked too far forward.
4. Align Your Upper and Lower Body
A strong stance is one continuous line from the floor to your fists: feet angled, knees tracking over the feet, hips stacked over the base, torso upright, shoulders relaxed, guard on top. When those parts stack, your weight transfers into punches travel straight up through the body instead of leaking out through your hips.
The common failure is a stacked posture, meaning the upper body is braced directly above the feet with no knee bend and no rotation available. The other failure is tension: clenched jaw, tight shoulders, held breath. Neither improves a punch.
Try a slow turn of the rear hip without moving your feet. If you can rotate and come back easily, your base and hips are working together. If your whole body twists as one rigid block, soften the knees and try again.
5. Add Controlled Footwork
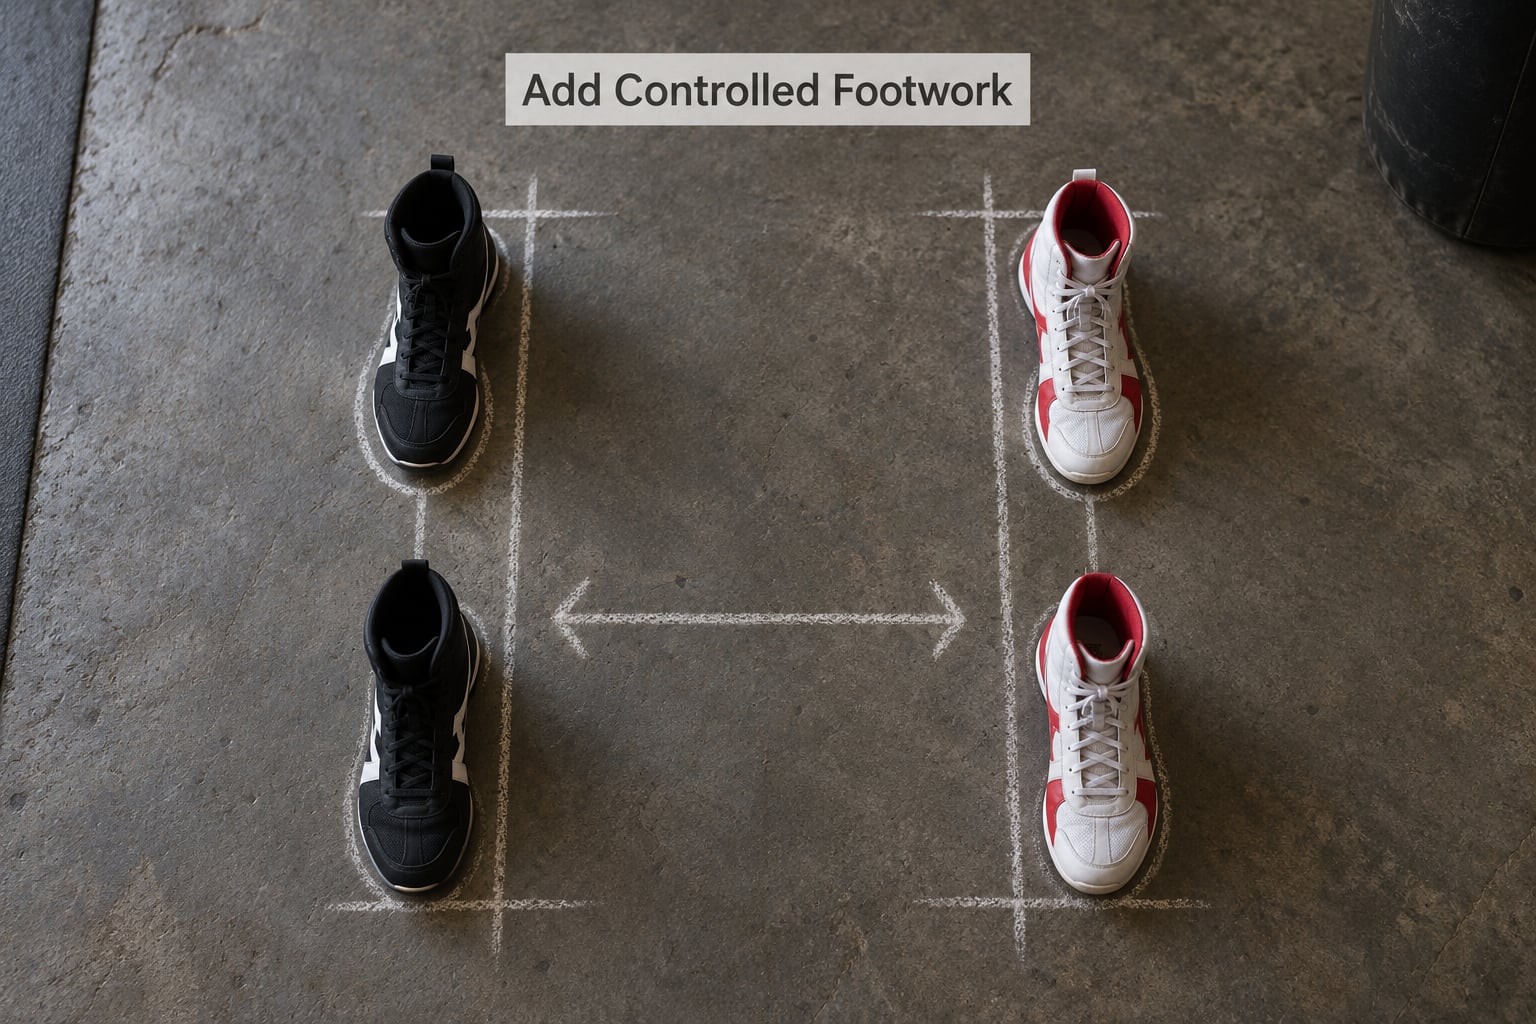
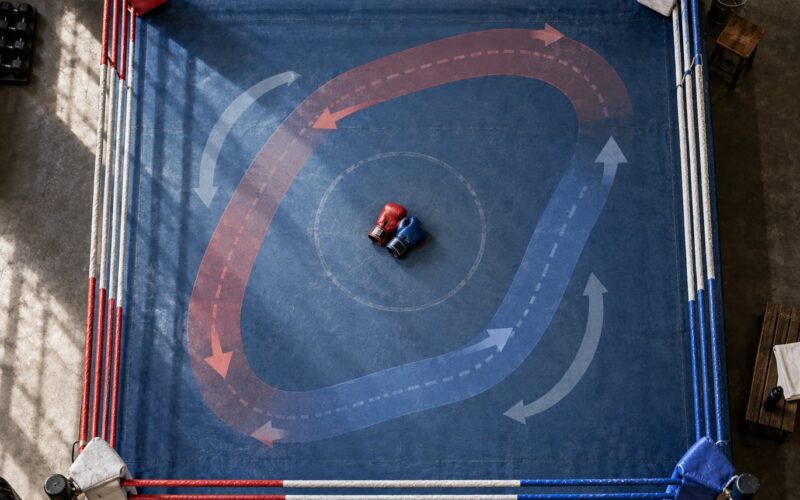
Once the position holds, start moving. Slide the lead foot forward and back in small steps, keeping the rear heel light and the guard up. Then step out to the side at an angle and come back to the same spot. Every step should land quietly, and the stance should look almost identical before and after.
Slow is the point. Most stance work happens at a third of the speed you would use in a round, because speed hides balance errors until you are too tired to fix them. Set a phone timer for 30 seconds of small footwork and stop mid-drill to check where your weight sits. If it has crept onto the front leg, shorten your steps and reset.
The rear heel test is simple and worth repeating. Lift it a few millimeters during a slow rearward step and let it drop back to a graze. Do that on every rep until the rear foot stays light without you reminding yourself.
6. Test and Refine the Stance
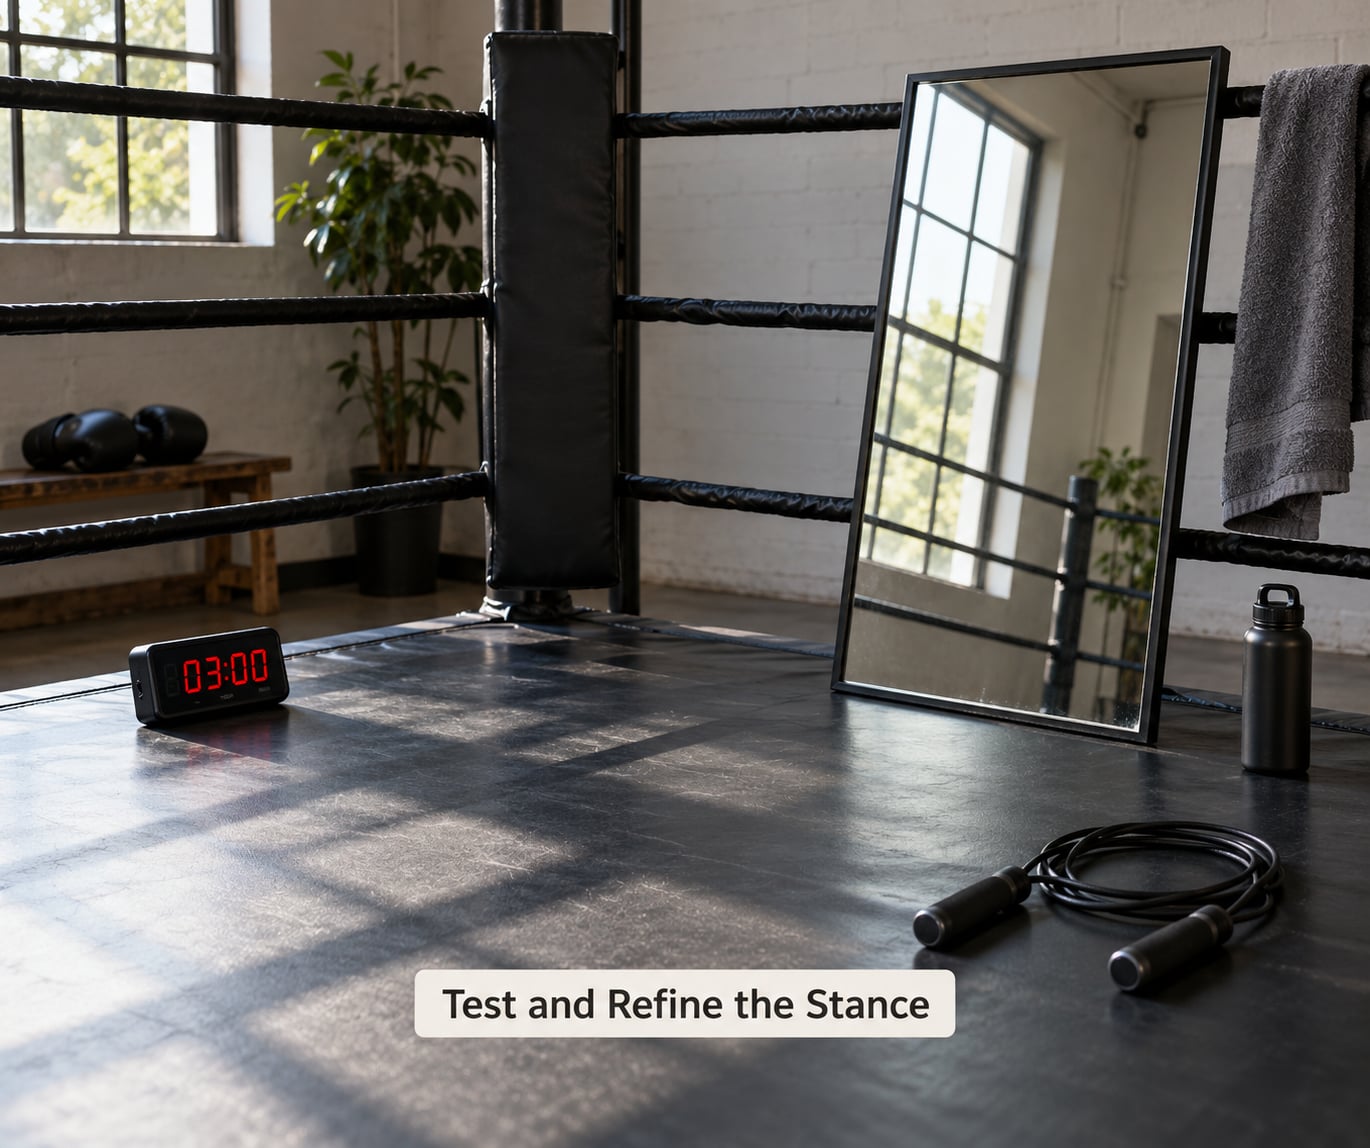
Now check the position honestly. Hold it for 60 seconds and count how many times your shoulders rise or your hands drop. Shadowbox three slow minutes at half speed and watch whether your chin rises. Have a partner push gently on your chest and see whether your base resists or whether your feet slide.
A phone video is more useful than a mirror here, because it shows the side profile most people never see. Look for knees that drift inward, a chin that floats above the hands, a rear foot that goes flat, and a base so narrow that any lean puts you on a tightrope.
Then run your build order again: base, feet, knees, hands, chin. Most persistent problems are upstream faults showing up somewhere else. A high chin is usually a tired rear leg, and a forward lean is usually a rear heel that got planted. A coach can correct those in a few minutes, which is why regular coaching speeds this up considerably.
Common Mistakes
These are the faults that show up repeatedly in beginner classes, each with the correction that usually resolves it.
Standing too square
Squared shoulders present a bigger target and give the rear hand nowhere to go. Turn the lead shoulder and hip toward the opponent so your chest is angled roughly 45 degrees rather than flat on.
Crossing the feet
Crossing up destroys your base. Every step should travel, not cross; bring the rear foot back to its spot rather than stepping it past the lead foot.
Overreaching
Steps that are too long leave you unable to recover. Use shorter, quicker steps, since you can always extend your range later.
Planting the rear heel
A flat rear foot stops hip rotation. Lift the heel a few millimeters on every step and let it graze the floor.
Locking the knees
Locked knees transmit impact straight into the joint. Keep a visible bend in both legs so you can absorb and push off.
Dropping the lead hand
A low lead hand invites the straight punch. Keep the lead hand at cheekbone height even when you are not throwing.
Raising the elbows
Elbows out block your own hooks and ribs. Bring them in toward the body and keep the shoulders down.
Hunching the shoulders
Round shoulders mean tension, and tension bleeds speed. Drop the shoulders away from the ears and breathe.
Holding your breath
Breath-holding locks the ribs and kills your recovery. Exhale on the punch and inhale on the way back.
Changing stance under pressure
Feet drifting toward square or crossing under fire is fatigue talking. Reset deliberately between combinations instead of drifting.
One more habit worth adding: check your stance at the start of every session, not just when something feels wrong. Thirty seconds of mirror or video checks across a few weeks tells you more than any single session.
Frequently Asked Questions
What is the best boxing stance for a beginner?
The orthodox stance, left foot forward for a right-handed fighter, is the usual starting point because it matches most people’s natural coordination and is easier to find coaching for. Feet sit about shoulder-width apart, the lead foot angled near 45 degrees, knees soft, weight mostly on the rear leg and the rear heel light. Start narrow, hold it for a minute at a time, and widen your base as your balance improves.
Should a beginner fight orthodox or southpaw?
Start orthodox unless your body clearly prefers the other. Most beginners can only train one side at first, and orthodox means facing more opponents in sparring and more coaching material available. Choose southpaw if you keep reverting to it naturally, or if you are left-handed and have genuinely poor coordination orthodox. Either stance can reach the same level, so consistency matters more than the choice.
How wide should my feet be in a boxing stance?
About shoulder-width is the working answer, which for most people is 35 to 45 centimeters from the center of the lead foot to the center of the rear foot. Wider feels stable but slows you down, and narrower feels fast but falls apart when you step sideways. Test it: if you get pushed and your feet slide, widen slightly; if you feel slow and shuffling, bring them in a touch.
How high should my hands be in a boxing guard?
High, but not rigid. The lead hand sits near your cheekbone and the rear hand covers the chin, with elbows pulled in and shoulders relaxed. Hands at eyebrow height feel safe and often pull your shoulders up, which drains power out of your punches. The check is simple: you should be able to see the room past your hands and breathe without your ribs locking.
Do I need a coach to build a strong boxing stance?
You can build most of it alone using a mirror, a wall and slow footwork drills, but a coach will shorten the process considerably. Self-checking catches obvious faults, while an outside eye catches the habits you cannot feel, such as a squared stance or a drifting chin. If you train alone, film yourself monthly from the front and side. If you can train once a week with a qualified coach, your stance will settle much faster.
Conclusion
Start where the fix is easiest: put your feet at a comfortable width with soft knees, keep the rear heel light, then guard the centerline with your hands and tuck your chin behind them. Rehearse slow weight transfers before you add any speed or power, because a stance learned at a third of speed is the one that survives a tired third round.
If the same fault keeps showing up despite your checks, or if any of it comes with pain, get a qualified coach involved. That is the fastest route to a stance that holds under pressure.