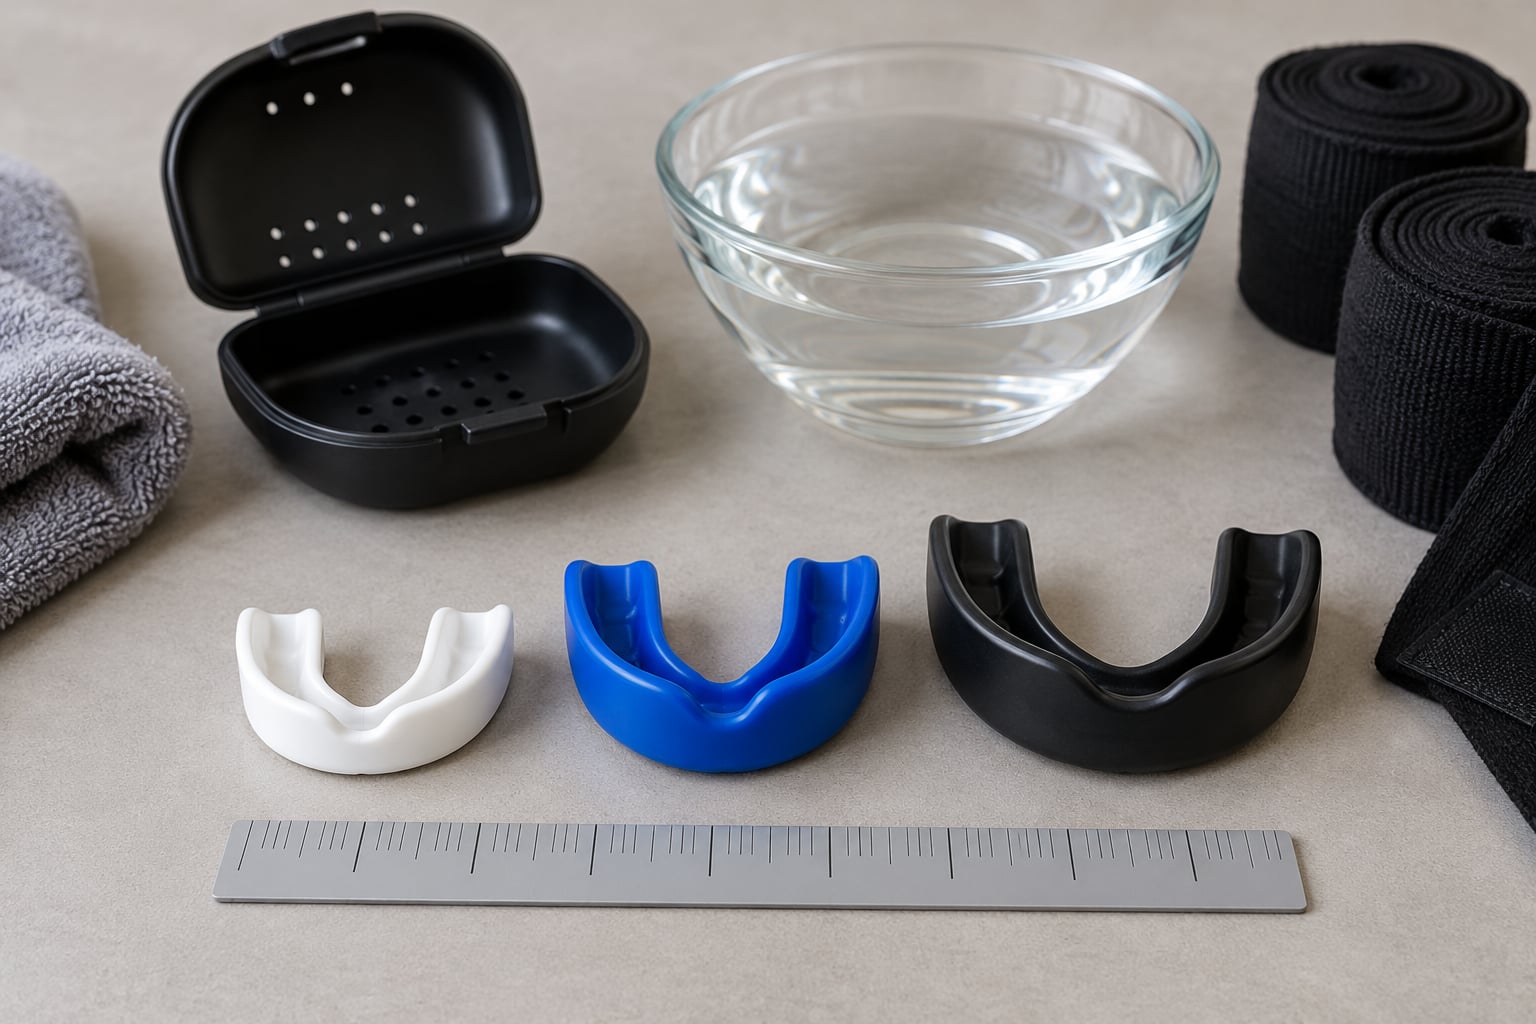
Picking a boxing mouthguard comes down to four things: the level of contact you train at, a fit that stays put, air you can actually breathe through, and clear care instructions. How to pick a mouthguard for boxing is mostly a matching exercise — a guard that feels great on bag work can still be the wrong choice the first time you spar.
The good news is that you can do the whole process in one shopping trip plus one light training session. It takes about ten minutes to assess a guard once it arrives, and you can replace or remake most boil-and-bite models if the first attempt disappoints.
Table of Contents
- What You Need
- Step-by-Step
- 1. Choose the right mouthguard for boxing training and sparring
- 2. Check the size and shape
- 3. Look for a stable, comfortable fit
- 4. Compare materials and construction
- 5. Make sure you can breathe and speak clearly
- 6. Check the maker’s care and replacement guidance
- 7. Test it gradually before hard training
- Common Mistakes
- Frequently Asked Questions
- How do I know if my boxing mouthguard fits properly?
- Should I use the same mouthguard for training and sparring?
- Are boil-and-bite boxing mouthguards safe?
- How often should a boxing mouthguard be replaced?
- What should I do if a mouthguard makes breathing or speaking difficult?
- When should I ask a dentist about a custom boxing mouthguard?
- Conclusion
What You Need
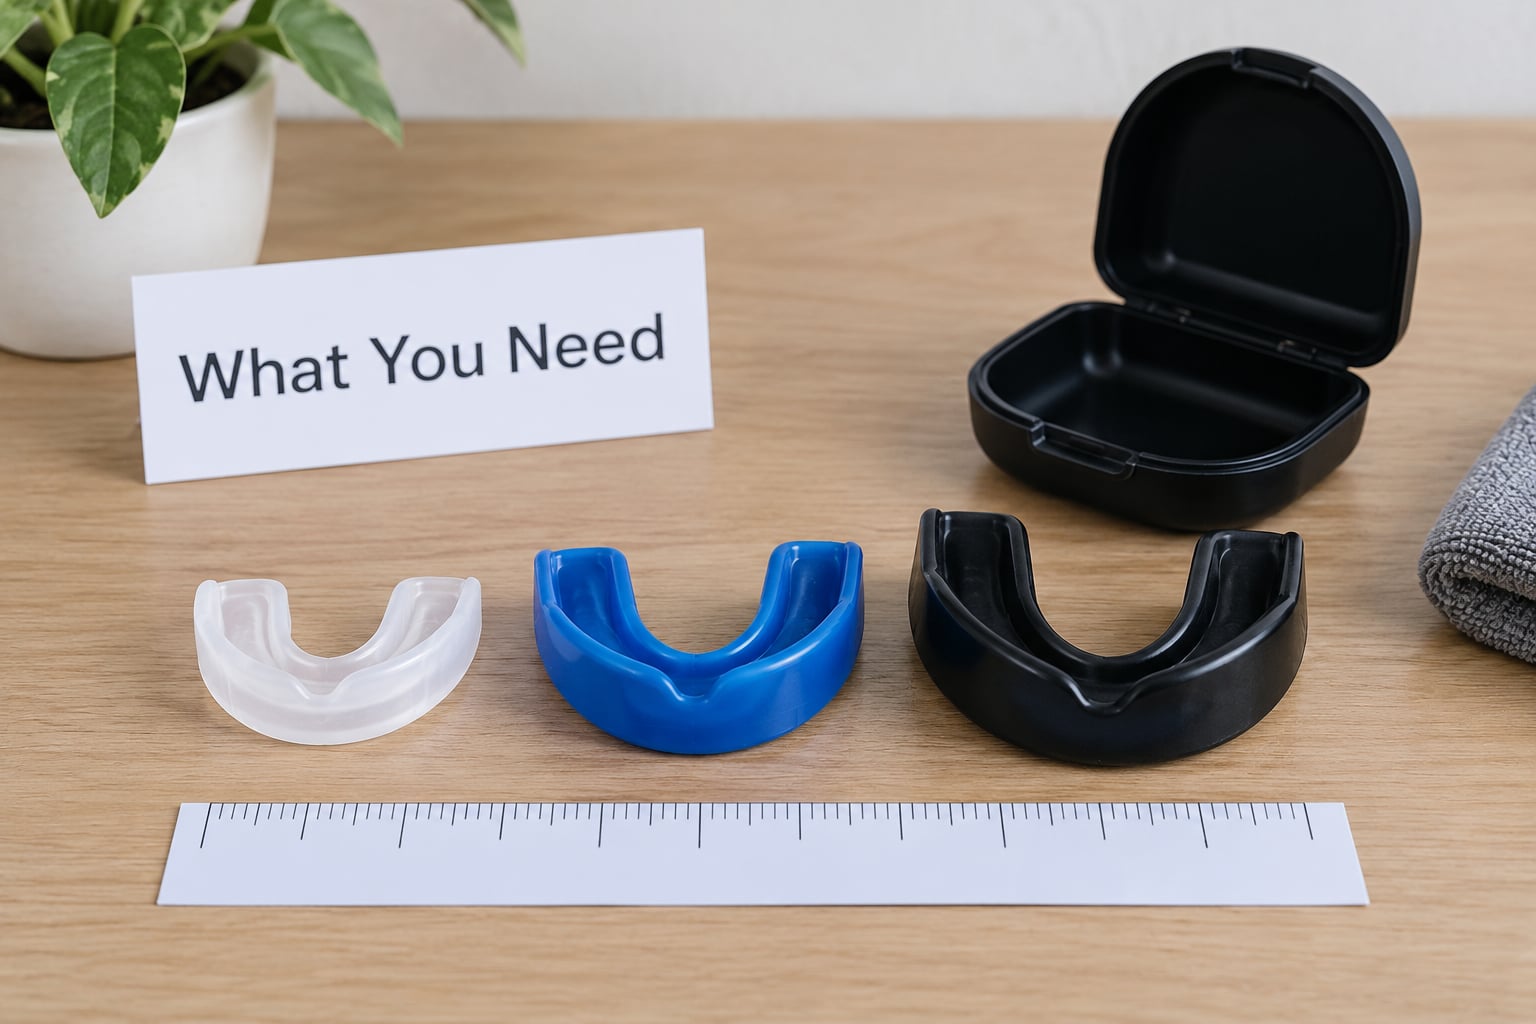
Before you shop, decide four things. First, the level of contact: bag and pad work, partner drills, or full sparring. Second, the construction — stock, boil-and-bite, or custom-fitted by a dentist. Third, size and shape, which is where most of the disappointment comes from. Fourth, ventilation, because a guard you cannot breathe through is a guard you will eventually stop wearing.
Also think about your mouth rather than the product. Braces, missing teeth, a strong gag reflex, a sensitive bite or an older retainer all change the answer. If any of those apply, a dentist or another qualified healthcare professional can tell you in a few minutes what your teeth and jaw can tolerate.
Finally, keep a ventilated case in mind. A mouthguard lives in a warm, damp pocket or gym bag, and how you store it decides whether it is still clean and intact months later.
Step-by-Step
Seven steps, in order. The aim is a guard that is comfortable, secure, matched to the contact you actually take, and checked with a professional whenever you are unsure. Nothing below promises to prevent a specific injury — it helps you choose equipment that suits you and spot problems early.
1. Choose the right mouthguard for boxing training and sparring
Bag work and pad work sit very differently from sparring. A light guard for solo sessions can be thinner, softer and easier to breathe through. Sparring and competition need more bulk and shock absorption because you are taking and giving contact.
The trade-off is honest: protection and breathability usually pull in opposite directions. A bulkier guard absorbs more, a slimmer one lets more air through. If you do both, many fighters keep two guards — a lighter one for pads and bag work, a more substantial one for sparring — and label them in the case.
2. Check the size and shape
Compare the guard’s width, height and bite depth against your own teeth. Youth and adult sizes are not interchangeable, and a guard that overhangs your back teeth will feel wrong and can bruise the gums.
A secure fit should feel snug with no rocking when you move your jaw. If it feels oversized, painful, or hard to close your mouth around, the size is wrong. Brands often print a size guide with age ranges and measurements — measure before you order rather than guessing.
3. Look for a stable, comfortable fit
Wear it and talk. Say a full sentence out loud, breathe in through your nose and mouth, then open and close your jaw. A guard that stays where it is during all three is doing its job.
Never bite down hard to test it, and never force it into place. Forceful biting cracks teeth on plenty of guards and tells you nothing useful about fit. If the guard has to be shoved in with a thumb to stay in, it is the wrong guard.
4. Compare materials and construction
Single-layer guards are thin and easy to speak through, which suits bag work and kickboxing drills where contact is light. Dual-layer and triple-laminated guards combine a soft inner layer with a firmer outer shell, which is the usual choice for hard sparring.
Boil-and-bite guards are thermoplastic: softened in hot water, moulded to your teeth, then cooled. They are cheap, replaceable and re-mouldable, and most beginners start here. Custom-fitted guards come from a dental impression, cost more, and are worth considering if you have braces, unusual bite problems, or you want a guard that survives a full competitive season without re-moulding.
Check the material list before you buy. BPA-free and phthalate-free are sensible asks, and CE marking means the guard has been tested to a European standard covering impact performance and chemical safety. None of that guarantees zero injury, but it tells you the product was tested rather than just sold.
5. Make sure you can breathe and speak clearly
Put it in and take a full breath, then another, then talk to someone across the room. Then drink a sip of water. Guards with airflow channels or a low-profile bite give you noticeably more room here, which matters during long rounds at high intensity.
Stop using the guard and reassess if you gag constantly, feel like you are choking, hear clicking, feel constant jaw pressure, or cannot finish a sentence. Fighters with a strong gag reflex usually do better starting with a slim-profile guard rather than forcing a bulky one to work.
6. Check the maker’s care and replacement guidance
Read the cleaning instructions before the first use, not after it falls apart. Most boil-and-bite guards want a soft brush, cool water and mild soap, then air drying with the case left open. Very hot water warps a moulded guard, and a closed wet case encourages bacteria.
Follow the manufacturer’s stated replacement interval, which is usually expressed in months of use. Then use your own eyes: a guard that is torn, cracked, flattened at the bite, split along the seam, or no longer holds its shape has come to the end of its useful life. Never train in a damaged guard — a broken edge cuts lips and gums, which are the injuries a mouthguard is supposed to prevent.
7. Test it gradually before hard training
Wear the new guard through light pad work first, then a light session, and only then anything hard. Take it out afterwards and look at the bite marks: if your front teeth have cut deep, sharp grooves into it, it was probably fitted too deep or is the wrong size.
See a dentist or qualified healthcare professional if the guard causes pain, keeps loosening, sits over an existing dental work in a way that rubs, or if you are simply unsure whether it suits your bite. That conversation is quick, and it is cheaper than a cracked tooth.
Common Mistakes
Buying on looks alone. Colour and branding say nothing about thickness or fit. Fix: judge the guard on size, construction and how it sits in your mouth after ten minutes.
Going one size too big. An oversized guard is the leading cause of gagging, breathing trouble and a habit of chewing through the front. Fix: measure, and treat persistent looseness as a sizing failure rather than something to get used to.
Ignoring breathing and speech problems. If you cannot talk to your corner, you cannot hear instructions. Fix: test speaking before buying, and prefer low-profile guards with airflow channels if you are starting out.
Skipping cleaning. A warm, wet guard is a comfortable place for bacteria to grow. Fix: rinse and dry it after every session and store it in an open, ventilated case.
Training in a damaged guard. Cracks and tears invite lip and gum cuts. Fix: check it after hard sessions and replace it at the first sign of damage, whatever the printed interval says.
Pushing through pain. Pain, numbness or a bite that suddenly feels different are reasons to stop. Fix: take it out and get it looked at professionally before you spar again.
Safety tip: No mouthguard makes head contact safe. The guard protects teeth, lips and gum tissue and may soften jaw impact, but nothing on this list replaces a refusal to take a punch you should not take.
Frequently Asked Questions
How do I know if my boxing mouthguard fits properly?
A good fit feels snug from the front teeth back, stays in place while you talk, breathe and move your jaw, and never needs pushing in with a thumb. If it rocks, feels oversized, cuts your gums or makes you gag, the size is wrong. Check it in a mirror for coverage and take it out after a light session to see whether your teeth cut deep grooves into the bite.
Should I use the same mouthguard for training and sparring?
You can, but a lighter guard is usually more comfortable for bag and pad work, while sparring and competition reward more bulk and shock absorption. Many fighters keep two guards and switch by session, storing each in a labelled ventilated case. If you only want one, pick the more protective option you can comfortably breathe and speak through.
Are boil-and-bite boxing mouthguards safe?
Boil-and-bite guards are safe for most people when they are the right size, moulded correctly and replaced when worn out. They are thermoplastic, so follow the moulding instructions closely and avoid reheating them repeatedly. Choose a BPA-free, phthalate-free model and check for CE marking or similar impact and chemical safety testing. Anyone with braces or dental work should ask a dentist first.
How often should a boxing mouthguard be replaced?
Follow the replacement interval printed by the manufacturer, usually expressed in months of use, then shorten it based on what you see. Replace a guard that is torn, cracked, split at the seam, flattened through the bite or loose in the mouth. Heavy sparring wears guards faster than bag work, so fighters who spar several times a week get through more than one a year.
What should I do if a mouthguard makes breathing or speaking difficult?
Take it out and stop using it until you have worked out the cause. Common culprits are a size that is too large, a bite depth that is too thick, or a guard that is not moulded properly onto the back teeth. Try a slimmer, lower-profile model with airflow channels, re-mould the guard if it is boil-and-bite, and measure again. Persistent breathing trouble is a reason to see a dentist.
When should I ask a dentist about a custom boxing mouthguard?
Ask a dentist when you wear braces, have missing or crowned teeth, a strong gag reflex, a sensitive bite, or repeated problems with boil-and-bite guards staying put. A custom guard is also sensible if you compete regularly and want one moulded once rather than re-moulded every few months. The appointment takes a short impression and is the fastest way to settle an uncertain fit.
Conclusion
Start by naming the level of contact you actually train at, then judge the guard on size, retention and breathing rather than on appearance. Wear it through light pad work before anything hard, inspect it afterwards, and keep it clean in a ventilated case until the maker’s replacement interval or your own eyes tell you it is done.
If any step leaves you unsure — braces, a painful bite, a guard that will not stay put — that is the moment for a dentist or qualified healthcare professional rather than another order. As of 2026, nothing in the gear aisle can tell you what your jaw will tolerate.