Knowing how to improve boxing footwork at home comes down to six drills, no partner and no bag: set a stable stance, shift your weight in small steps, pivot for angles, place your feet on floor markers, connect it to shadowboxing, then run the whole thing as a short circuit. Ten to fifteen minutes, three or four times a week, on any cleared floor. Most of the gains show up in the first month because the fixes are small ones, like keeping your back heel light and stopping yourself from crossing your feet.
Table of Contents
- What You Need
- Step-by-Step
- Frequently Asked Questions
- How long should a home boxing footwork session last?
- Do I need a heavy bag or a partner to improve boxing footwork?
- How do I know my boxing footwork is improving?
- What can I do if I only have a small space?
- How do I keep my knees and ankles comfortable while drilling footwork?
- How often should I practice boxing footwork at home?
What You Need
The honest list is short. A cleared patch of floor, a pair of training shoes or non-marking soles, a phone or kitchen timer, and somewhere to look at yourself.
Start with the floor. Hardwood, laminate, sealed concrete and thin carpet all work. Carpet with a deep pile is the one to avoid because your feet sink and slide, and the shuffling stops being a push off the ball of the foot. Sweep the area first, move the coffee table, push the rug edge back with tape if it keeps catching your heel. Downstairs neighbours and thin ceilings argue for the quiet version of every drill here, which is deliberate foot placement rather than jumping, so nothing in this guide needs a running start.
Wear something with a flat, grippy sole and train barefoot only if your floor is smooth and you already know your ankles are fine. Socks on a polished floor are a slip risk, and shoes with a raised heel change how your weight sits.
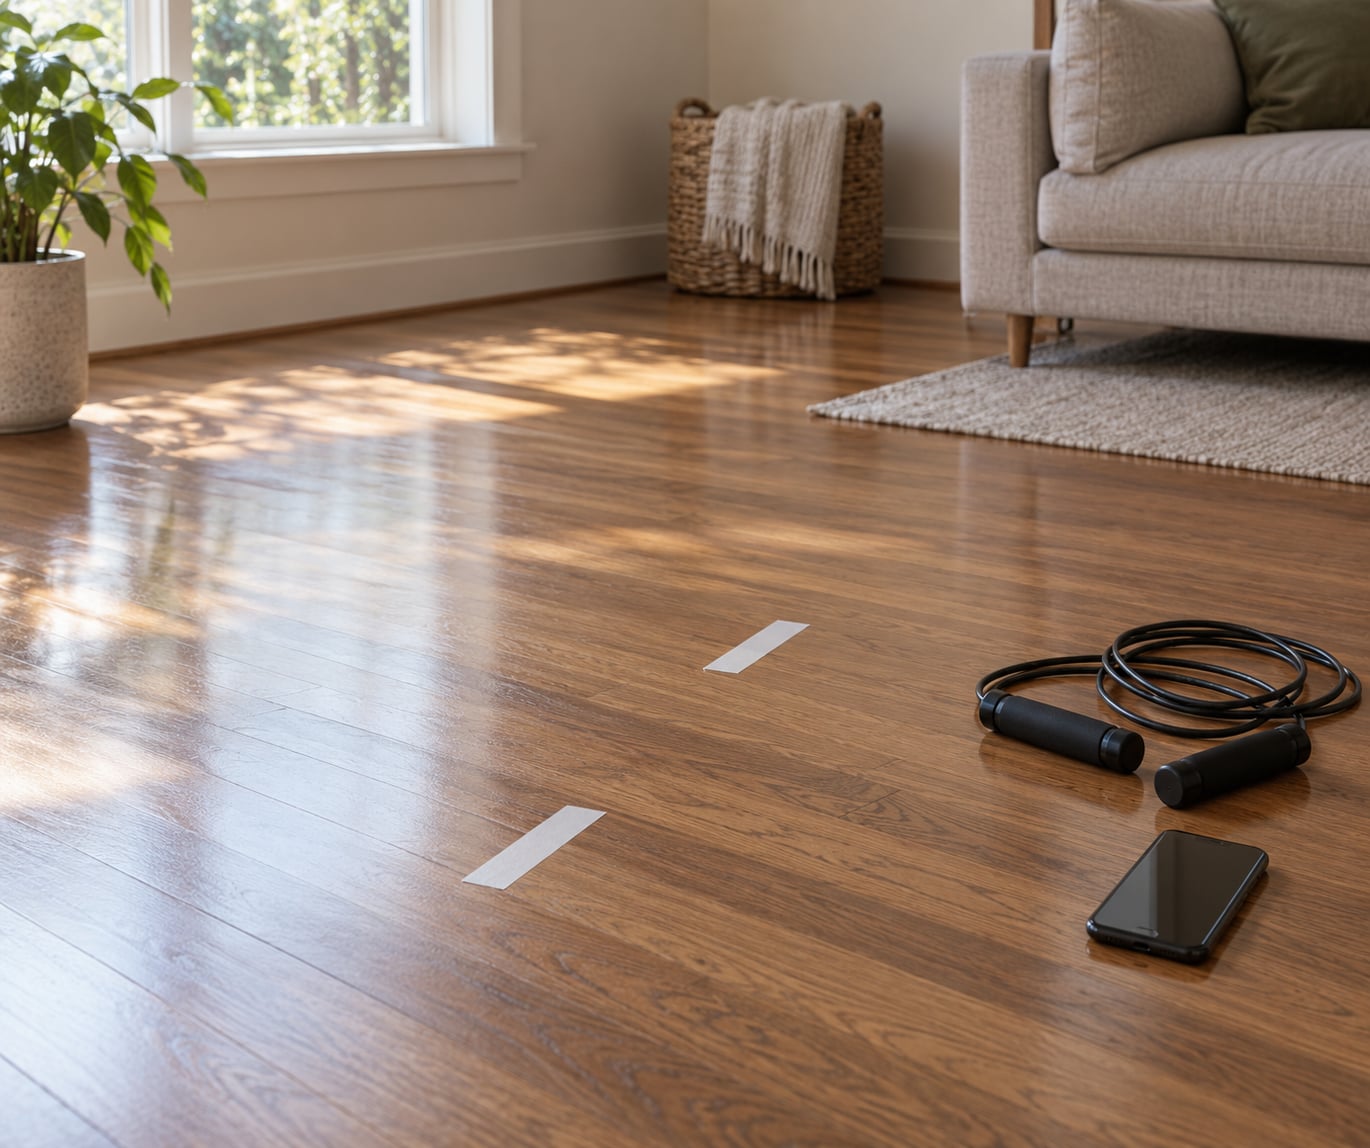
Household markers stand in for an agility ladder. Two bottles of water a metre apart, strips of masking tape, a coiled rope or four folded squares of paper all do the same job, which is telling your feet where to land when you cannot see well enough to judge distance yourself. A wall gives you a fixed reference so you learn what an inch of movement actually feels like.
Step-by-Step
The six drills below build on each other, so run them in order the first few times. Together they are the practical answer to how to improve boxing footwork at home when you have no ring, no pads and no coach. Warm up for three minutes with marching, ankle rolls and a couple of easy shadow rounds before you touch anything technical, because the ankle is where footwork injuries start.
Two rules hold across all of them. Your feet should make almost no sound, because sound means you are dragging rather than pushing off. And stop each drill while your form is still good rather than at the end of a timer, because the last thirty seconds is where everybody crosses their feet.
Step 1: Establish a Stable Boxing Stance
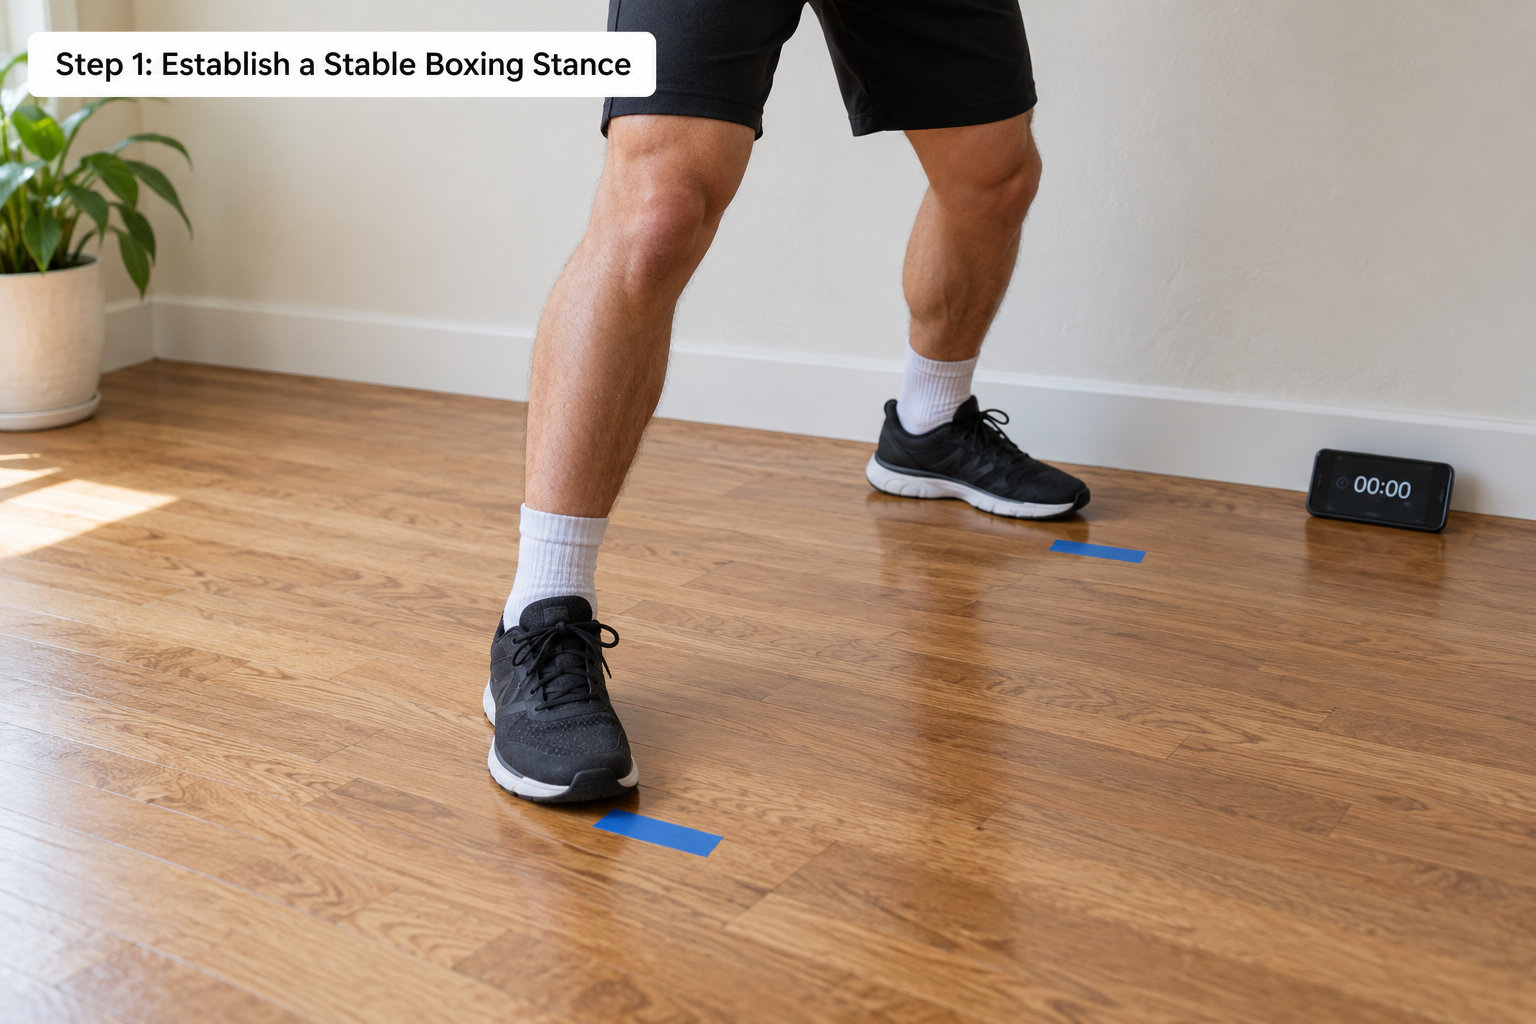
Stand with your feet roughly shoulder-width apart, lead foot forward at about a 45-degree angle and rear foot closer to square to the line of attack. That is an orthodox stance; a southpaw stance is the same shape mirrored, with the right foot forward and a slightly wider base.
Spread your weight roughly evenly across both feet and let the rear heel stay just off the floor. Knees soft, hands up in front of the chin, elbows in, chin tucked behind the lead shoulder. Locking the legs and leaning forward are the two ways beginners break this position.
The check is simple. Hold the stance for sixty seconds without bouncing, then shift your weight fully onto the front foot and back again without moving either foot. If you can do both without wobbling or standing on your toes, the base is doing its job. Count it out loud once so you have a reference for later sessions.
Step 2: Practice Weight Shifts and Small Steps
From the stance, shift your weight onto the lead foot, then step the rear foot forward to meet it. Reverse it: lead foot back, rear foot follows. Ten repetitions each way, moving an inch or two, staying upright the whole time.
The cue most people need is the order of operations. Rear foot moves second, always, and it slides rather than lifts and plants. Beginners tend to bounce up and down between steps, which wastes the energy the drill is supposed to build.
Film this one from the side on your phone. If your feet land ahead of your centre of mass or your guard drifts down as you step, shorten the step until you can keep both hands up. Distance first, speed later.
Step 3: Build An Angle and Pivot Drill
An angle is the cheapest thing you can learn at home and the one most people skip. From your stance, push off the ball of the lead foot and move the rear foot across and behind, roughly a quarter turn, so your body ends up off the original line.
Hold the new position for a count of two, feel where your weight is, then return to the starting stance the same way you left it. Eight repetitions to the left, eight to the right. No jumping in this one, which is what makes it safe on a wooden floor in a small room.
The safety check matters: if you feel anything sharp or twisting in the front knee, the step is too wide. Bring the rear foot closer to the lead foot and turn less. A smaller pivot done cleanly beats a full one done badly, and the smaller version is what you will build up from.
Step 4: Use Marker Steps for Accuracy
Put two markers a metre apart and stand behind one in your fighting stance. Step forward until your feet land on the marker, then step back to the start. Do ten clean returns, then pick the markers up and move them somewhere you cannot predict.
Work slowly enough that each foot lands where you intended. A trail of people on r/amateur_boxing suggested a version of this using two small bottles set about a metre apart and moving in an eight figure pattern, which is a good second stage once the straight line feels boring.
Three markers in a triangle is the version worth building toward. Lead foot to one, rear foot pivots, lead foot to the next. It trains the same angle from Step 3 but forces you to find it without a fixed line in front of you, which is exactly what sparring asks for.
Step 5: Practice Footwork With Shadowboxing
This is where footwork becomes boxing instead of gymnastics. Jab, cross, then step out at an angle and back to the stance. Three punches, two steps, repeat for sixty seconds.
Keep the punches simple at first. Jab and cross, slip right with a step, step back to centre. What you are training is the recovery: every combination ends with your feet returning to the same spot they started from. A boxer who finishes a combination in a wide stance has lost the position even if the punches were pretty.
Quality over speed, always. Slow rounds where the guard stays up and the feet land quietly beat fast rounds full of crossed feet, because you are building a pattern your body repeats under pressure. And the slow version is the one that survives when you get tired, which is the only version that matters in a real round.
Step 6: Put the Skills Into a Short Circuit
This is the session. Ten to fifteen minutes, same order every time, so you can measure progress by what it feels like rather than by the calendar.
| Order | Drill | Time | What it trains |
|---|---|---|---|
| 1 | Warm-up march and ankle rolls | 2 min | Prep, ankle mobility |
| 2 | Stance hold and weight shift | 2 min | Balance, base |
| 3 | Small steps in and out | 2 min | Push-off, foot speed |
| 4 | Quarter-turn pivots | 2 min | Angles, knee safety |
| 5 | Marker steps and triangle | 3 min | Accuracy, spacing |
| 6 | Shadowboxing with steps | 3 min | Recovery to stance |
Rest thirty seconds between drills, and take a full minute after the shadowboxing round. That is the baseline circuit. Once it feels controlled rather than exhausting, make it harder one lever at a time: shorten the pauses between drills, add a fifth and seventh pivot, cut the rest to fifteen seconds, or add a second shadow round with one step-and-jab per punch.
One more beginner habit worth keeping: record the last shadow round on your phone once a week and watch it below the knees. Most people find their feet stop moving halfway through the round, which is invisible from the inside and obvious on a screen.
Common Mistakes
Bouncing constantly. It feels athletic and it kills your balance. Fix it by stepping without any vertical rise at all, and test it by watching your knees in a video. If they move up and down, you are bouncing.
Crossing the feet on lateral movement. Usually a sign of a step too wide. Shorten the step, push off the correct foot, and make the rear foot travel second. The test: walk the pattern with no gloves on and no guard, slowly, and check your feet never pass each other.
Over-pivoting and losing the base. You turn more than your feet and knees can support. Turn a quarter, hold, return. If you feel the front knee twisting, the pivot is too wide.
Looking down at your feet. Chin tucked behind the lead shoulder, eyes on the imaginary opponent. If you need to check your footwork, film it instead of breaking your stance.
Letting the guard drift. Fatigue pulls the hands down before the feet go. Stop the round when the guard drops rather than trying to finish it.
Training on the wrong surface. Carpet with a deep pile, a rug edge or a polished floor without grip. All three cause slips that a heavy bag session would never expose.
Jumping ahead of the base. Nobody has clean footwork in week one. Progress one lever a week, and expect visible improvement in three to four weeks of regular sessions, with the habit of standing flat-footed under fatigue taking closer to two months to fade.
Frequently Asked Questions
How long should a home boxing footwork session last?
Ten to fifteen minutes is enough for most sessions. That covers a short warm-up, the six drills in order and a couple of shadow rounds, which is the volume your body can actually absorb while form stays clean. Longer sessions are fine on weekends, but split them rather than grinding one hour at poor technique.
Do I need a heavy bag or a partner to improve boxing footwork?
No. Footwork is a movement pattern, not a reaction, so it trains well alone on a cleared floor. A bag teaches you to move while something comes back at you, which matters, but the basics, the angles and the recovery to stance are all learnable solo. Add a partner when you can, not before.
How do I know my boxing footwork is improving?
Record a one-minute shadow round every week and compare. Look for three things: your feet still move in the second half of the round, you finish combinations in the same stance you started them, and your heels stay light when you get tired. One session in a mirror cannot show you any of that.
What can I do if I only have a small space?
You need roughly two metres by two metres for the drills here. If that is tight, work on the line drill along a wall, drop the triangle pattern, and keep pivots small. Small space mostly costs you the ability to move in a wide circle, which is the one thing home training limits anyway.
How do I keep my knees and ankles comfortable while drilling footwork?
Keep the knees soft and stay on the balls of your feet, never flat. Reduce the step size and the pivot angle before you feel pain, and stop the set rather than finishing it. Persistent knee or ankle discomfort is worth raising with a doctor or physiotherapist, since footwork loads those joints hard.
How often should I practice boxing footwork at home?
Three or four short sessions a week beats one long one, because footwork is coordination rather than endurance and it consolidates when repeated. Keep at least one day completely off. Daily work is fine once the movements are clean, since shadowboxing every day is a common and effective habit among home-trained boxers.
If you only take one thing from how to improve boxing footwork at home, start with the stance and the marker steps, run the circuit three times a week, and film one round a month. Those three habits fix the balance, the spacing and the recovery, and the speed takes care of itself.