A cross is a straight punch thrown with the rear hand, travelling in a straight line from the chin to the target and driven by hip and shoulder rotation rather than arm strength. Learn how to throw a cross in boxing by building the stance, the rear foot pivot and the rotation first, and adding speed only after the shape is right.
This guide is written for someone who has never thrown a cross with intent. Seven steps, in order, each with a simple signal that tells you it worked. No equipment list longer than a paragraph, no jargon you cannot check on your own.
Table of Contents
What You Need
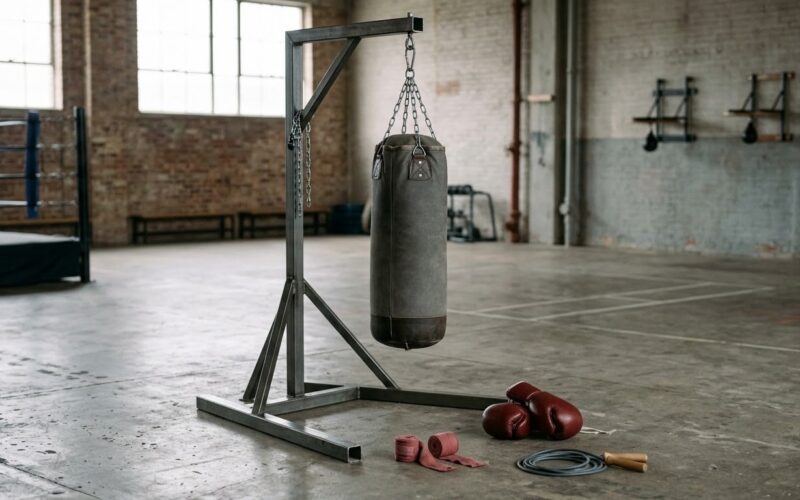
Hand wraps, gloves, floor space about two arm lengths deep, and a wall or heavy bag. That is genuinely it for the first two weeks.
Wraps matter more than beginners expect. They hold the thumb against the fist so a straight punch does not fold the thumb back behind your knuckles, which is the injury that ends plenty of amateur careers. Put them on before you shadowbox, not after your hands hurt.
Gloves: for technique work, anything comfortable that lets you make a firm fist. Bag gloves around 14 to 16 ounces give you feedback without building up much impact, so start there and only go heavier once a coach says your form holds up.
For space, you need about six feet in front and behind you. Nothing about throwing a cross requires a full ring. If you have no bag, shadowboxing in front of a mirror works better than nothing, since you can see your own stance.
On a partner or coach: not required to start, worth having inside the first month. The rear foot is hard to feel and harder to see, and someone watching from the side will spot a dead pivot in seconds. If nobody is available, film yourself from the side with a phone propped up at waist height. That single angle tells you more than a front-on mirror.
Step-by-Step: How to Throw a Cross in Boxing
Start in a Stable Stance
Step one is the stance. From an orthodox stance you lead with the left foot, so the rear hand that throws the cross is the right. From a southpaw stance you lead with the right foot and the cross comes from the left.
Feet about shoulder-width apart, knees soft, weight sitting mostly on the back leg so it can drive forward, and your rear heel turned out roughly 45 degrees. Hands near the chin in loose fists, elbows tucked in front of the ribs, chin tucked behind the front shoulder.
How you know it worked: you can hold the position for 30 seconds without shuffling and your weight stays on the back half of your feet.
Set Your Range and Target
Step two is range. The cross is a long punch, so it needs distance. Stand far enough from a bag that you could extend your arm and fall short by a hand’s width.
Pick a target high and fixed. A mark on a bag around chin height, or a focus mitt held by a partner. Do not pick a moving head in a mirror while you are still learning the path.
How you know it worked: your body stays in one spot from start to finish. If your feet shuffle forward or your hips drift past your heel, you are reaching instead of punching.
Load the Rear Side Without Oversetting
Step three is loading the rear side. A good punch starts as a small coil: the rear hip turns a few degrees, the rear shoulder tucks in, and the weight settles deeper onto the back leg.
Keep the guard up through all of it. A big obvious wind-up is called telegraphing, and it tells anyone in front of you exactly what is coming.
How you know it worked: the movement is small enough that a partner could not call it from across the room, and your chin never moves off your shoulder.
Transfer Your Weight and Rotate
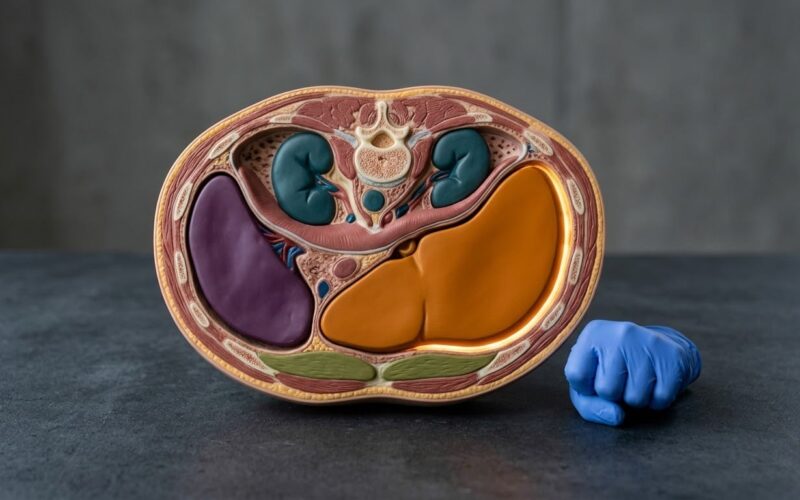
Step four is the part beginners skip. Push off the ball of your rear foot, turn the rear hip toward the target, and let that rotation carry the shoulder and the arm with it. This is the kinetic chain: foot, hip, spine, shoulder, fist, in that order.
The rear foot pivots, it does not drag. Think of the heel lifting and the toe rolling toward the target so the hip can turn past your shoulder line. You also exhale sharply on the throw. Holding your breath locks the torso and kills the rotation.
For a southpaw, the mechanics are identical, just mirrored: rear foot right, rear hand left, pivot off the ball of that right foot.
How you know it worked: you feel it in your glute and obliques rather than your shoulder. If the burn is in the front of the shoulder, the arm started the punch.
Extend the Cross and Keep the Guard
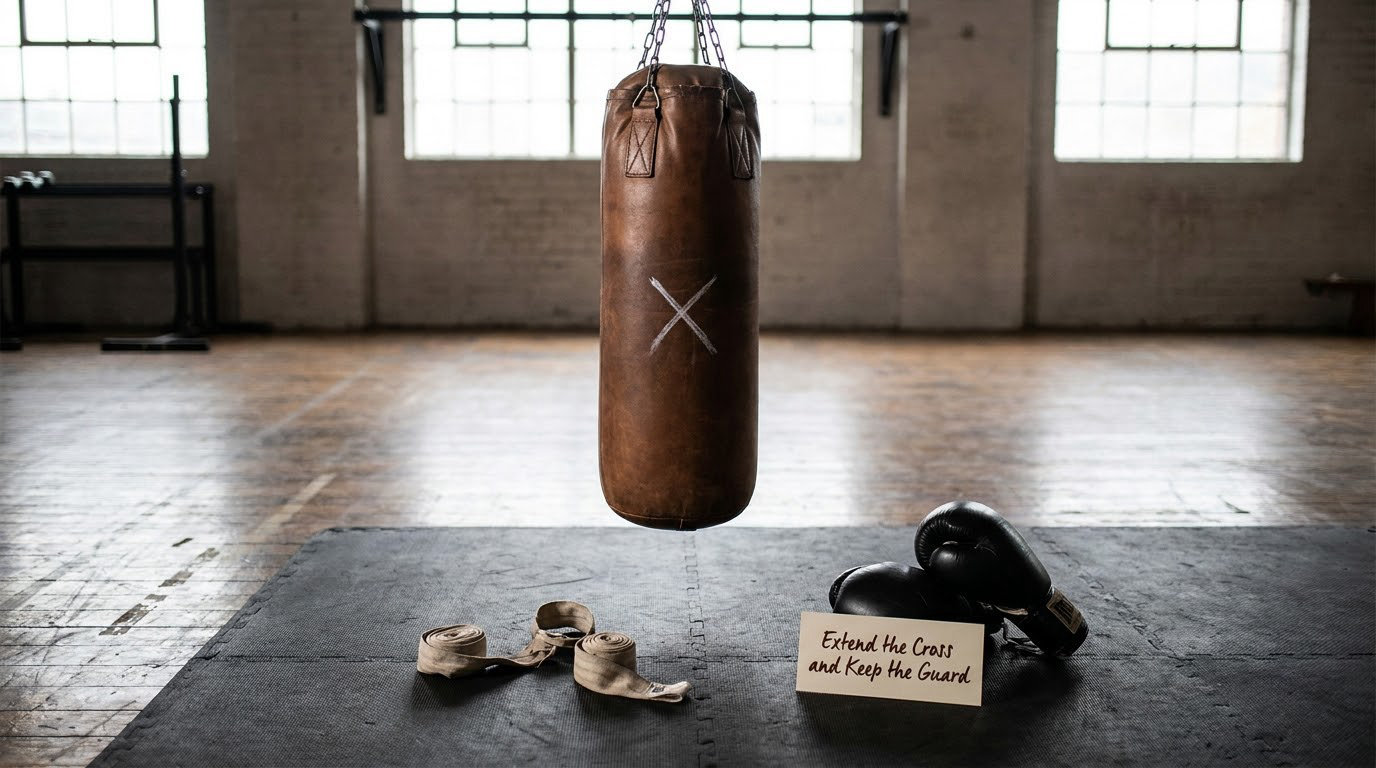
Step five is extension. Let the rear arm travel out along the same line the shoulder turned toward, knuckles roughly in line with the wrist and the elbow. Extend enough to land with good technique, not enough to lock the joint. Locking the elbow at full reach is how people injure the shoulder.
The other hand stays glued to its cheek, elbow in. That guard hand is your defence while you are committed to the punch, so it is the last thing to move and the first thing back.
How you know it worked: the punch lands with a clean snap rather than a lean, and the non-punching hand never drifted off the chin.
Land, Follow Through, and Recover
Step six is the finish. Think of punching through the target a couple of inches, not stopping on it. Your hand passes the point of contact and then comes straight back, not sideways, not dropping to the side.
Step seven is the reset. Return the hand to the cheek, the feet flat again, the weight back on the rear leg, and you are ready for the next one. A punch is not finished until you are back in the guard.
Beginners often relax or pose right after the punch lands. In a ring that is an open invitation, and even on a bag it teaches a habit you will have to unlearn later.
How you know it worked: you can throw ten crosses in a row and end in exactly the stance you started in.
Common Mistakes and How to Fix Them
Throwing with the arm only. The single most common beginner fault, and the reason so many crosses feel weak. If the shoulder is doing the work, the hips never turned and there is nothing behind the fist. Fix: throw at half speed without resistance and focus on the rear foot rolling instead of the arm pushing.
Punch slipping off the target or knocking you off balance. Usually over-rotation without the pivot to match, so the hips spin past your base. Fix: keep the turn to about 90 degrees and make sure the heel lifts off the mat.
Dropping the lead hand. The guard hand falls as soon as the cross extends, and you have trained your opponent that you cannot punish the cross. Fix: shadowbox and count every hand that leaves the cheek. It is uncomfortable for a week, then it sticks.
Leaning back to create distance. Pulling the head and shoulders backwards at the start of the punch kills the forward drive and costs you range. Fix: chin behind the lead shoulder from the moment you start.
Telegraphing. A big visible wind-up makes the cross easy to read and easy to counter. Fix: throw one slow, completely unannounced cross per set and ask a partner whether they saw it coming.
Chasing power. Trying to hit hard on every repetition fatigues the technique out of you before the session ends. Fix: work technique at half speed, then reserve the last third of the round for the ones you throw hard.
Posing after contact. Relaxing the moment the punch lands is the habit that forum beginners complain about most. Fix: end every combination back in the guard, and treat a dropped hand as a rep that does not count.
Safety and Practice Tips
Progress in this order: shadowboxing, then bag work with light gloves, then pad work with a partner who gives feedback, and only then controlled sparring. Each stage needs a session or two at the level below it before you move up.
Rest more than you think. Technique work is mental, and the last twenty rounds of a tired session are where habits get built. Ten quality crosses a session beats a hundred tired ones.
Stop if you feel sharp pain in the shoulder, elbow, lower back or knee. Soreness in the forearms and thighs after a session is normal; joint pain is a signal to rest and, if it keeps coming back, to see a doctor or physiotherapist. Nothing in this guide replaces medical advice.
Film yourself once a week from the side. Progress is hard to feel in the moment, and beginners in coaching forums consistently say side video is what finally showed them the dead rear foot they had been guessing about.
Frequently Asked Questions
Which hand throws the cross in boxing?
The rear hand throws the cross, and that is the hand that is back when you start in your stance. Orthodox boxers lead left and throw the cross with the right. Southpaws lead right and throw it with the left. The naming comes from the fact that the punch travels across the front of your body from the rear shoulder, not because it is crossed in any other way.
Should a beginner throw the cross with power?
Not at first. Spend your first weeks on the shape: stance, pivot, rotation, guard hand, recovery. Half-speed crosses with full technique build the habit far better than hard ones with a flaw in them. Once your stance is identical at the start and end of ten repetitions, then add speed, and heavier gloves a good deal later.
How do I keep my other hand protected while throwing a cross?
The guard hand stays on your cheek for the whole punch, elbow tucked against your ribs. It only leaves your face once, and it leaves during the recovery, not during the extension. Beginners who drop it while the cross is out usually do it because they are swinging the shoulders too far, so pull the turn back and keep the hand heavy.
What is the correct footwork for a cross?
The rear foot pivots on the ball of the foot, with the heel lifting and the toe rolling toward the target so the hip can turn past the shoulder. The weight transfers from the back leg to the front leg as you throw, and the feet stay roughly where they started. A rear foot that drags without turning is the most common reason a cross feels weak.
How often should I practice throwing crosses?
Three or four short sessions a week beats one long one. Most of it should be shadowboxing and bag work, and the number that matters is quality repetitions, not total volume. A focused 20-minute session of technique crosses five days out of a week will do more than a hard hour twice a week.
When should a beginner work with a boxing coach?
As soon as you are hitting something harder than air, and certainly within the first month. A coach or experienced partner can see from the side what you cannot feel, particularly a rear foot that never pivots. If no coach is available, film yourself from the side in slow motion and compare the position of your heel at impact against what you started with.
Conclusion
Start by learning how to throw a cross slowly and honestly: set the stance, roll the rear foot, turn the hip, keep the guard hand home, come back to where you started. Do ten of those and get a coach or a side-on video to check the foot before you add any speed.