Here is how to choose a jump rope length in about two minutes: stand on the middle of the cable with both feet together, pull the handles straight up until they touch your body, and read where they land. Mid-chest is the right target for beginners; armpit level or lower chest suits experienced jumpers. No special kit needed.
Height is where you start, not where you finish. Handle length differs between brands, your footwork changes how much rope you can control, and the rope you use for double unders should be shorter than the one you warm up with. So treat any number you read, including the ranges below, as a starting position to test rather than an answer.
What You Need
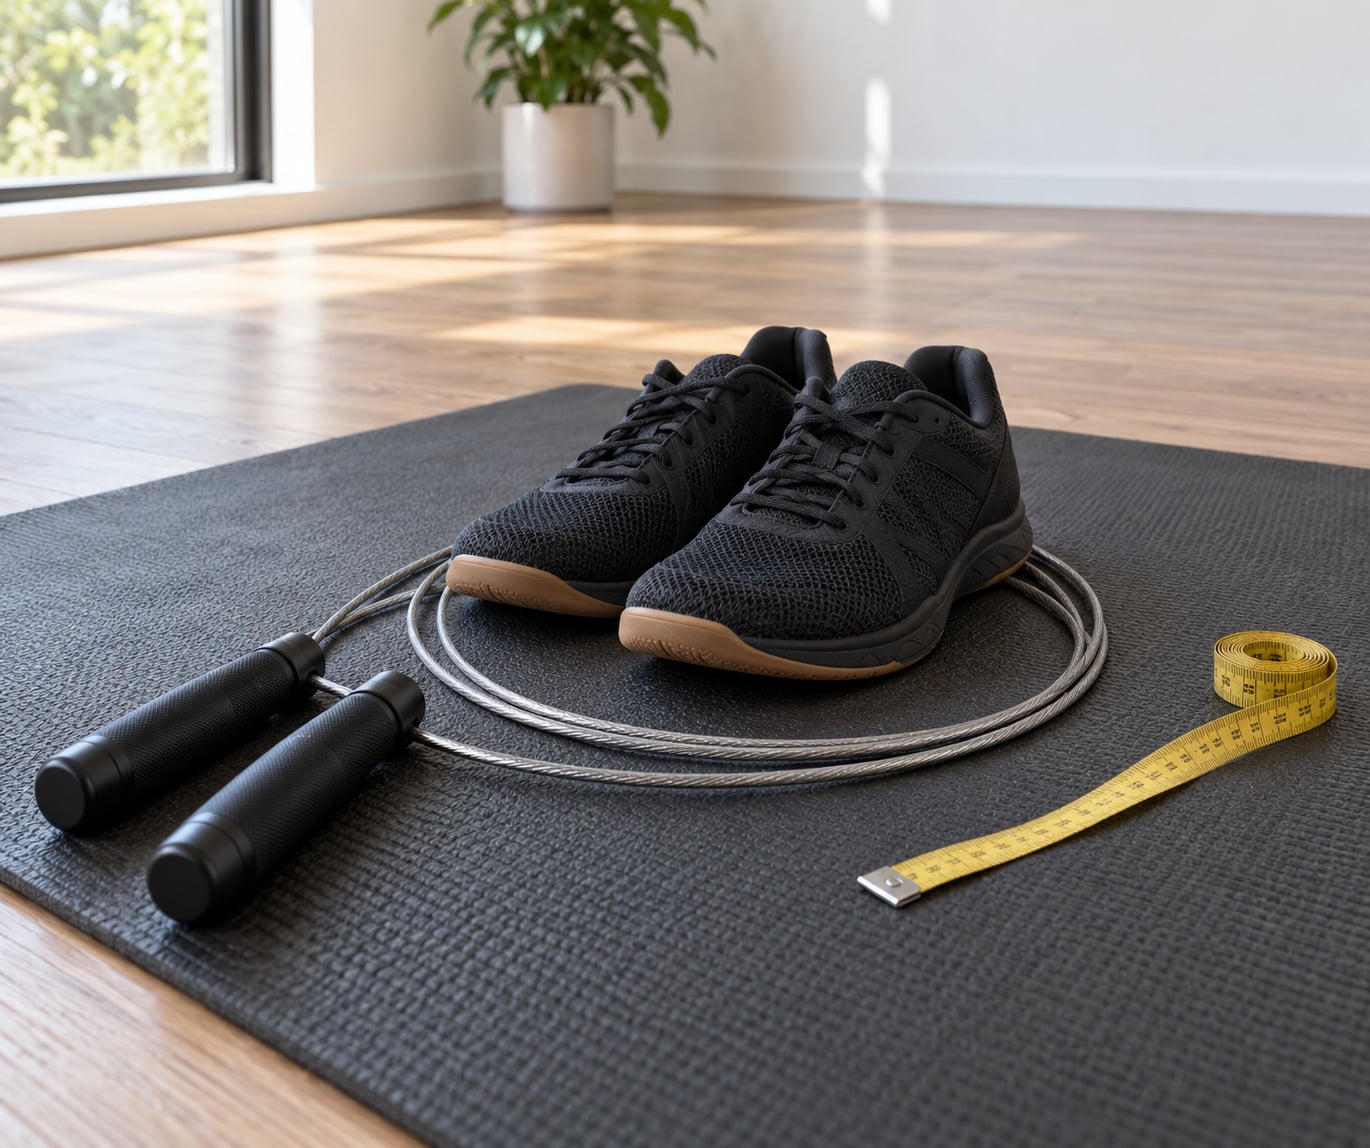
The whole process fits in a corner of a room. You need four things, and three of them are free.
- Your height. Measure it against a wall in shoes you would actually jump in, not a guess from a driver’s licence.
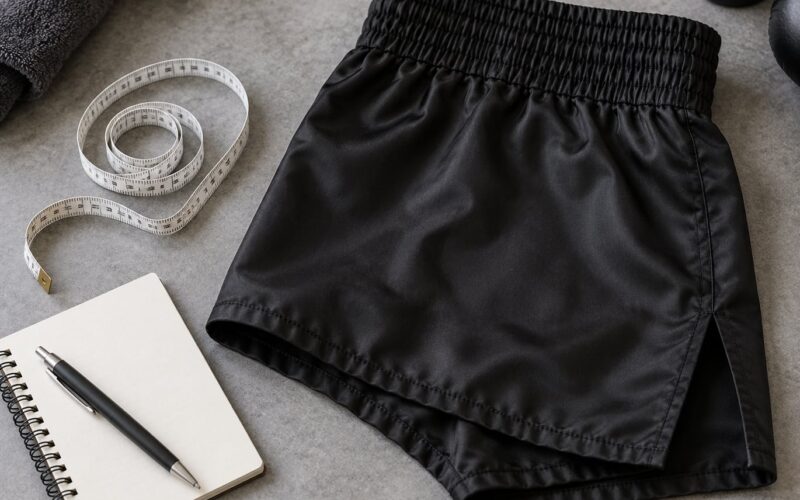
- A measuring tape or a piece of string with a pen. A tape is easier, but a string works fine for the rope.
- The rope you are sizing. Bring the actual rope you plan to use. Measuring a different model tells you nothing, because handles and cable thickness shift the total length.
- Clear floor space. Roughly two metres in every direction, on a surface with some give. Testing a rope in a hallway between a desk and a wall is how people end up with a rope in the radiator.
Nothing else is required. No calculator, no membership, no special shoes.
Step-by-Step
Measure Your Height and the Rope
Stand straight against a wall with your heels together, mark the top of your head with a pencil, and measure from the floor to that mark. Do this in the shoes and the trousers you train in, since a difference of a few centimetres changes which handle height you land on.
Now measure the rope. Lay it out in a straight line, find the exact midpoint, stand on it with both feet together, and pull each handle straight up alongside your body until the rope is taut. The top of the handle tells you the length you are actually working with, handles included.
What you are looking for:
- Handles reach your armpits or upper chest — comfortable for most adults learning singles.
- Handles reach your mid-chest — the sweet spot for beginners. Plenty of clearance, easy to control.
- Handles reach your lower chest or ribs — short rope territory. Faster rotation, more wrist work, harder on tired legs.
If the calculated length does not feel right, do not fight it. Move the setting one notch and jump. Feel wins over arithmetic, and I will say that again further down because sizing charts argue with each other constantly.
Choose a Starting Length for Your Experience
Your height sets a range, and your experience level picks a spot inside it. Here is roughly where to begin.
- Under 5’2″ (157 cm): start near 7’6″ to 7’10” (about 229 to 239 cm).
- 5’2″ to 5’6″ (157 to 168 cm): start near 8’0″ to 8’4″ (about 244 to 254 cm).
- 5’7″ to 5’10” (170 to 178 cm): start near 8’6″ to 8’10” (about 259 to 269 cm).
- 5’11” to 6’2″ (180 to 188 cm): start near 9’0″ to 9’4″ (about 274 to 284 cm).
- Over 6’3″ (191 cm): start near 9’6″ to 10’0″ (about 289 to 305 cm).
You have probably seen the “height plus three feet” rule from CrossFit circles, and it is close to the numbers above for average adults. Treat it as a minimum rather than a target: it assumes clean form, and a beginner working with a rope that tight will compensate with the hands and shoulders until the rhythm falls apart.
Now adjust inside that range based on what you are doing.
Beginners. Sit at the longer end of your range. A longer rope has more slack, more clearance under your feet, and a bigger target for the rope to land in front of you. You will jump more slowly, and that is fine at the start. Shortening early is the most common reason people give up.
Experienced jumpers. Move down a setting every few weeks, not in one jump. Drop from mid-chest to lower chest and keep it there only if relaxed singles stay clean for a full session.
Double unders and fast work. Shorten by another inch or two. A compact rope turns faster, which is the whole point, but only after your basic singles are automatic. Copying an elite athlete’s rope length is the fastest way to make a solid technique fall apart.
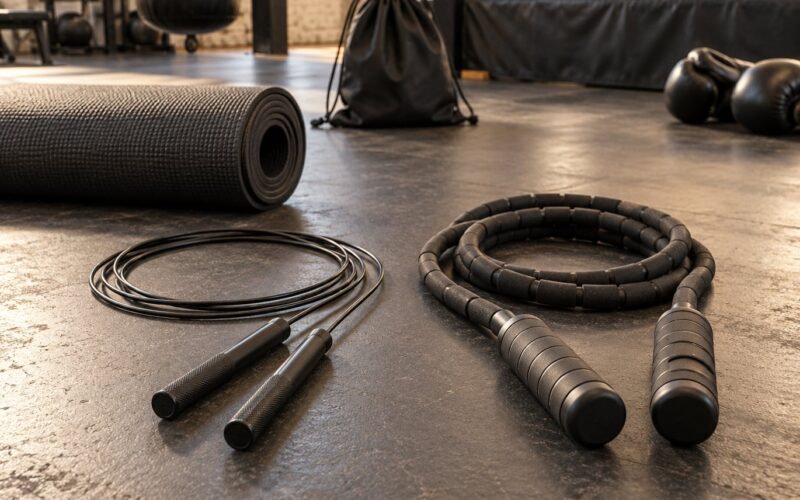
Beaded or weighted ropes. Check the rope’s stated length rather than measuring it, since beads and weights are usually counted in. These ropes also add drag, so most people stay a notch longer than they would on a bare cable.
One more factor people forget: handle length. A brand with long handles reads shorter on the step-on test than one with stubby handles, even when the cable is identical. If two ropes measure differently and you use the same height on both, the handles are why.
Test the Rope for Clearance and Control
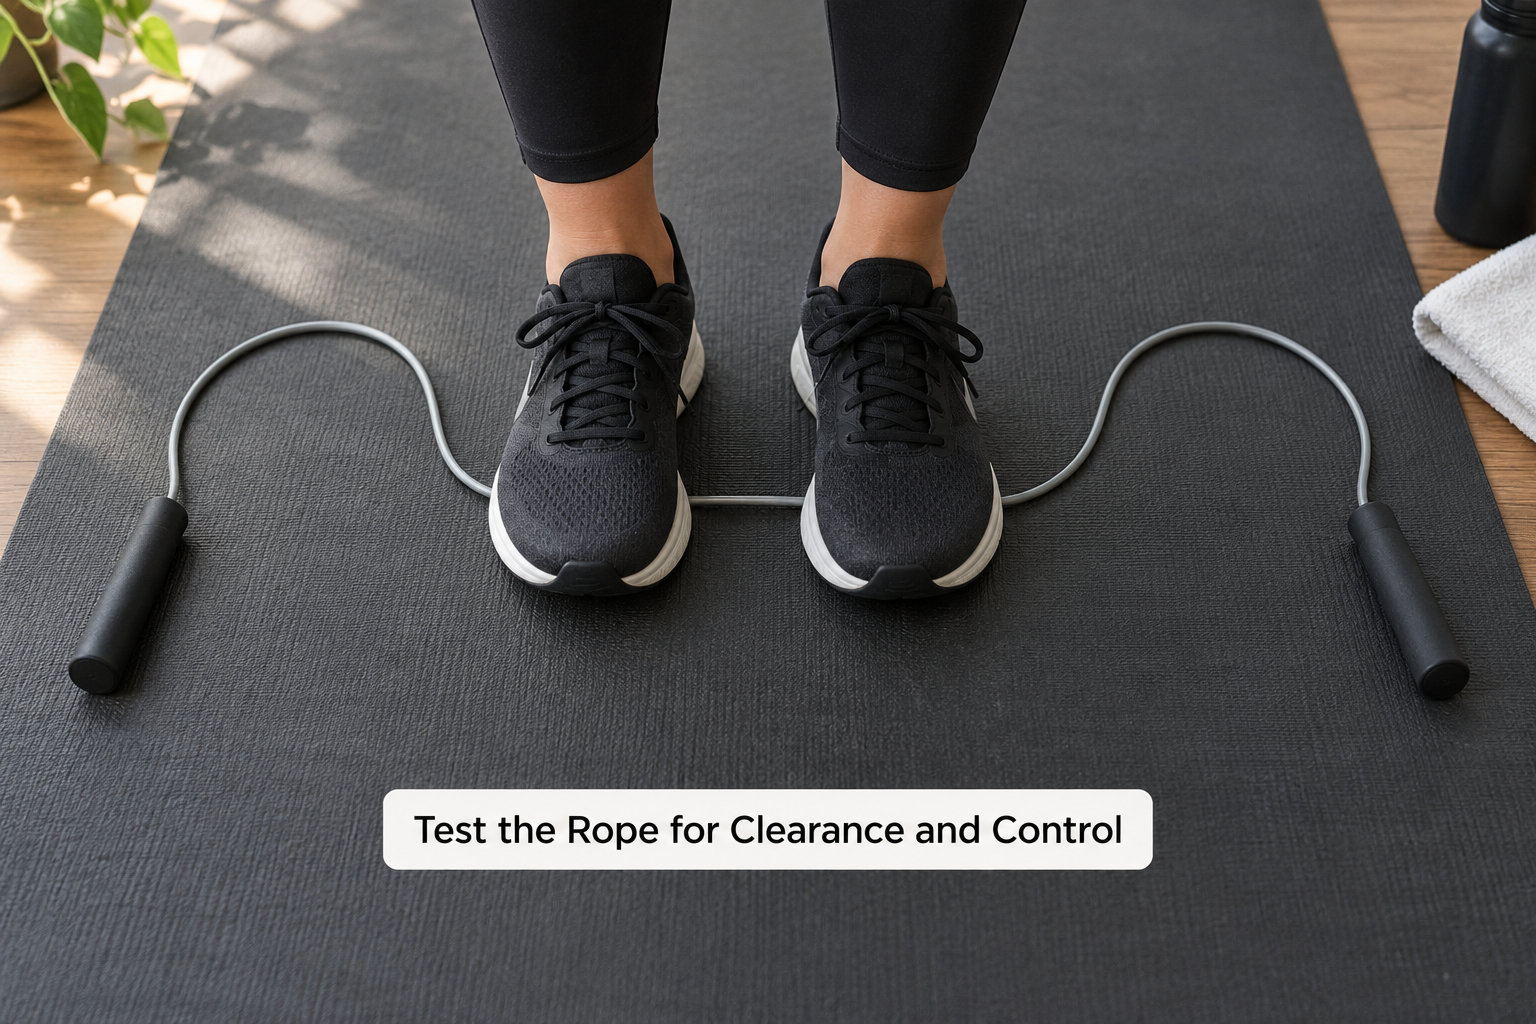
The measurement gives you a starting point. Four rounds of jumping tell you whether it works, and they take about a minute and a half.
Round 1, relaxed singles, 30 seconds. Small jumps, hands loose near your ribs. If your shoulders creep up toward your ears within the first ten seconds, the rope is too long.
Round 2, faster singles, 30 seconds. Pick up the pace to what you would call steady, not maximum. If you can hold it and the rope still lands in front of you, the length holds up under speed.
Round 3, footwork, 20 seconds. Side-to-side steps, in-out steps, a boxing bounce if that is your game. Short ropes make this harder, because you cannot step out to buy clearance. This round is where over-short ropes give themselves away.
Round 4, double unders, 20 seconds. Only if you already train them. If they fall apart here and nowhere else, take the rope back up half an inch.
The sign of a good fit is boring: the rope lands roughly six inches in front of your feet, barely skimming the floor, and your hands stay roughly level. If the rope is crashing flat onto the ground well in front of you, it is too long. If it is snapping down onto your shoes or shins, it is too short.
Test fresh, not at the end of a hard session. Fatigue fools everyone, and a rope that felt right in round one often feels wrong by round four of a HIIT block.
Adjust or Confirm Your Final Length
Most ropes can be changed. Which way depends on what you bought.
Adjustable screw ropes. Unscrew the end cap, loosen the adjusting screw inside the handle, pull the cable through, and pull it back the other way to lengthen. Tighten the screw, push the cap back on, and test again. Most of these ship with roughly a three-metre cable, which covers every adult size if you cut it correctly.
Testing before you commit. Before cutting anything, make a temporary loop at the target length and tie the cable into a knot, or slide a small heat-shrink sleeve over the cut point. Jump in it for a full week of your normal training. If it survives your worst session, it stays.
Cut-to-fit PVC and steel cable. Measure, then cut 2 to 3 cm (about an inch) longer than you think you need. Fit the protective rubber end cap over the cut end and crimp it with pliers if the design calls for it. Cutting short is the one irreversible mistake in this whole process, and the extra couple of centimetres cost you nothing.
Fixed-length ropes. Some beaded, cotton, and coated ropes are meant to be cut to size; check first, because a leather or weighted rope usually is not. Cut at one point, re-finish the end, and never trim both handles in one go.
How much to change at a time. Small increments, roughly 2 to 5 cm (1 to 2 inches), then test again. Bigger jumps in length produce symptoms you cannot attribute to anything, which defeats the point of testing.
Whichever method you use, jump the new setting for a week before you consider it settled.
Common Mistakes
Relying on height alone. Height gives a range of maybe 20 to 25 cm, which is several settings wide. Read the handle height and then test; do not stop at the number.
Measuring to the wrong points. Some people measure to the top of the head with shoes off, others measure only the cable and forget the handles. Both give a wrong answer. Measure the assembled rope, in your training shoes, to the top of the handle.
Buying for speed before control. A short rope turns faster and it also exposes every flaw in your wrist rotation. Get 30 seconds of relaxed singles with your hands quiet before you shorten anything.
Testing in a cramped space. If you cannot swing the rope out to roughly a metre in front of you, you cannot see the clearance, and you will decide your rope is too short when it is fine.
Ignoring the equipment condition. A kinked cable, a stiff bearing, or a handle with a split grip changes the effective length and the feel. Replace the part before you argue with the sizing.
Cutting on day one. Rope sizing drifts as you improve. Adjustable ropes handle that. If yours is fixed and cut, leave a little slack and re-test monthly.
Two symptoms worth memorising, because most people misread them. A rope that is too long raises your hands, makes you jump higher than needed, slows rotation, and can slap your shins on the way down. A rope that is too short does not feel too short at all: it shows up as constant toe catches, because the rope arrives at your shoes before it clears them, and it pushes your hands up toward your shoulders to buy space.
A few practical notes. Jump on a sprung surface or a mat rather than bare concrete, especially with a steel cable. Keep jumps low, from the ankles, and let your hands do the turning rather than your arms. And skip the rope for a session after a fresh cut so you can feel the difference instead of chasing it.
Frequently Asked Questions
Is there one jump rope length that works for everyone?
No. Height sets a range of roughly 20 to 25 cm, and within that range your experience, handle length and training goal decide the setting. A beginner at mid-chest and an advanced athlete at lower chest can share the same height and still need different ropes. Measure, then test.
Should beginners use a longer or shorter jump rope?
Longer, and by more than most charts suggest. Extra slack gives you more clearance under your feet, a larger landing target in front of you, and a slower rhythm you can actually hold. Shortening early is the most common reason new jumpers stall, because they compensate with raised hands and tense shoulders.
How do I measure a jump rope without knowing the correct length?
Lay the rope straight, stand on its midpoint with both feet together, and pull both handles up until they touch your body. Read where the top of the handle lands against your chest. Use a tape measure along the floor first if you want a number to compare against the sizing ranges, but the handle height is the answer that matters.
What size jump rope do I need for double unders?
Start from the length that already gives you clean relaxed singles, then shorten by 1 to 2 inches (2 to 5 cm). A compact rope turns faster and travels closer to your body, which is what makes the double pass possible. Do not jump straight to a competition length: if your basic singles break down at speed, the rope is not the problem yet.
Should I choose an adjustable or fixed-length jump rope?
Adjustable, especially if you are learning or your height puts you near a chart boundary. You can move a notch at a time instead of cutting. A fixed cut-to-fit rope is fine once you have settled on a length, provided you leave a few extra centimetres and re-finish the end properly. Either way, how to choose a jump rope length comes down to the handle height test, not the packaging.
Conclusion
Start with the underfoot test, not with a chart. Step on the midpoint, pull the handles up, aim for mid-chest if you are learning and lower chest if you are not, then jump four rounds and watch where the rope lands.
Adjust from whatever that test tells you, in small steps, and only after a full week of training confirms it. Chasing a universal number is the trap; the number just gets you close enough to start measuring properly.