Setting up a home boxing gym in a garage comes down to three things: a load-rated anchor point for your heavy bag, enough clear floor around it to swing a full circle, and a floor covering that takes the impact. Get those right and the rest is gloves, wraps and a timer. Most people get it wrong in the opposite order, buying a bag before they know what the ceiling is made of.
Budget a weekend for the build. Clearing the garage, patching the slab and laying mats takes the bulk of it, and the mounting hardware is usually the least time-consuming part. The work is straightforward, but the bag and the framing are heavy and awkward, so it helps to have a second person on the install day.
Table of Contents
- What You Need
- Step-by-Step: How to Set Up a Home Boxing Gym in a Garage
- Common Mistakes
- Frequently Asked Questions
- Do I need permission to turn my garage into a home boxing gym?
- Can I hang a heavy bag from my residential garage ceiling?
- What type of flooring is best for a garage boxing gym?
- How much space should I leave around a heavy bag?
- Is it safe to train in a garage with a car in it?
- What equipment does a beginner boxing gym actually need?
- Conclusion
What You Need
Before you buy anything, work through the checklist below. Each item is cheap to check and expensive to miss. Keep it as a list on your phone, because the answers determine what you can buy.
Space and clearances
Measure the usable floor, not the quoted garage size. You need roughly six feet of clear radius around a hanging bag so it can swing and you can circle it without bumping a wall, and you need that space kept empty when the bag is in use.
Permissions
Renters need written landlord approval before any permanent change, especially drilling into framing or running new electrical. Owners should check whether the change affects the home insurance policy, since a structurally modified ceiling and a new outlet are both things an insurer may want to know about.
Floor protection
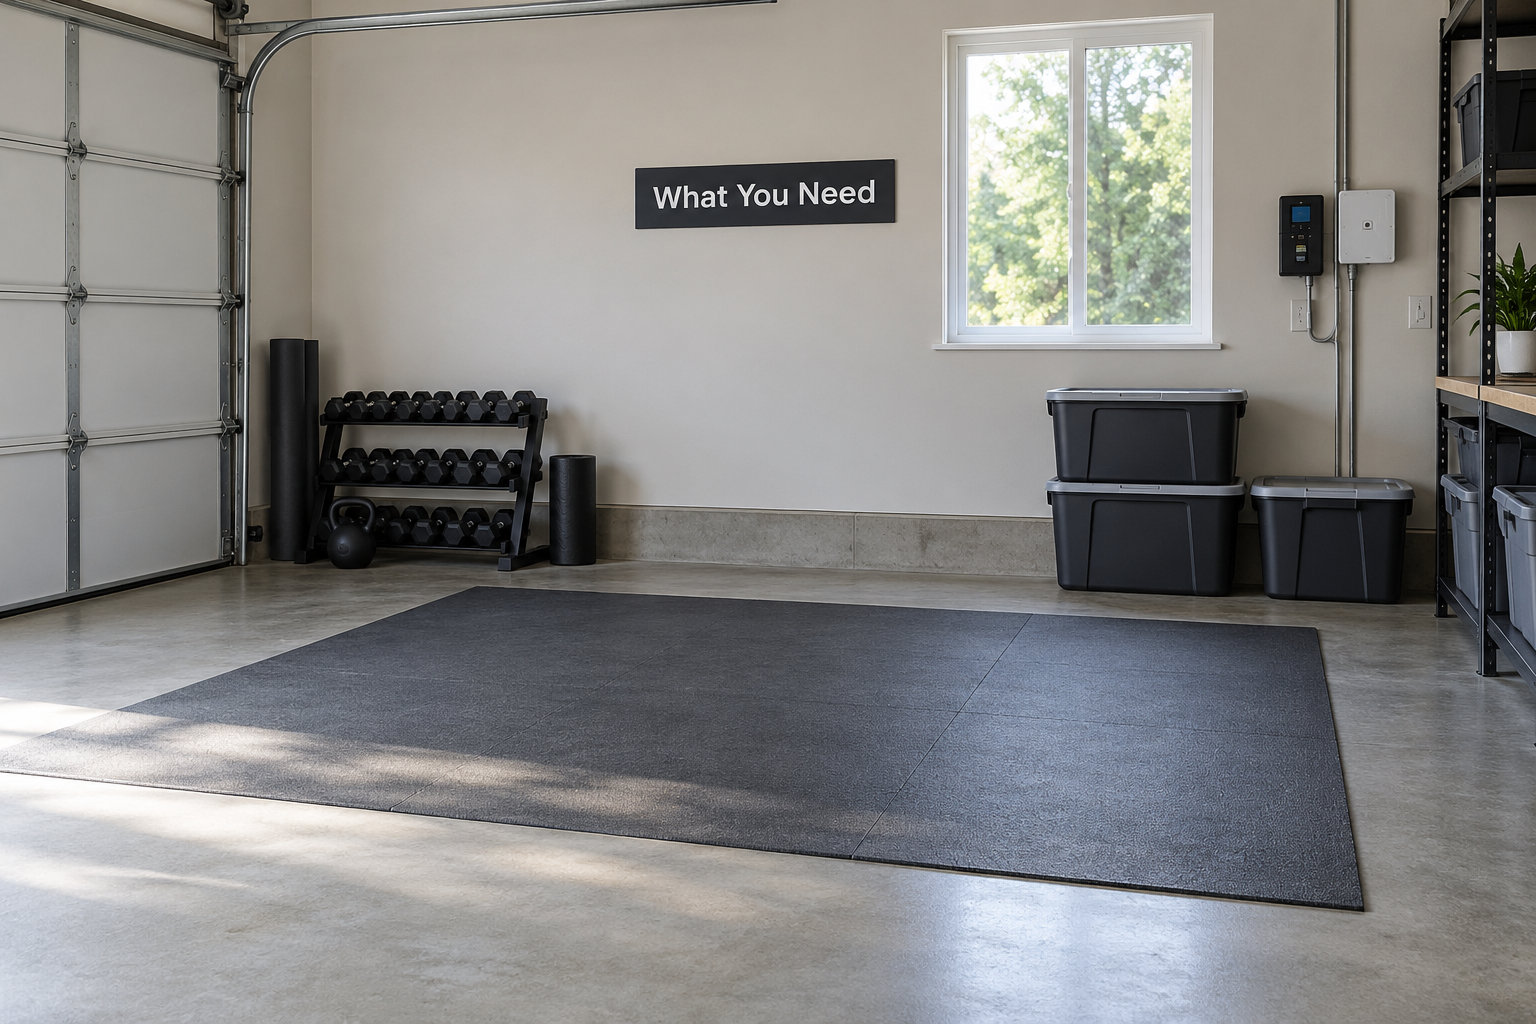
A bare concrete slab is hard on ankles, knees and wrists and it chips under a swinging bag. You want a covering rated for impact, and you want the manufacturer’s stated thickness and installation method followed exactly as written.
Lighting
A single bare bulb is not enough to check your form. Aim for even, shadow-free light across the training area so you can see your feet and your guard, plus a second switch within reach so you are not walking across the dark garage to turn things on.
Ventilation
Garages swing between hot and cold, and a hard session in an unventilated space is genuinely unpleasant. You need a way to move air, and you need to know that any combustion heater stays well clear of the training area.
Fire safety
Keep the clearance between the bag and anything electrical unchanged, keep the garage door entry clear, and know where the exit is. Rugs, bins and mats stacked against the door turn a small problem into a trap.
Storage
Every piece of gear needs a home that is not the floor. Wall pegboard, shelving along one wall and a lidded bin for wraps and gloves keep the training zone clear and stop the garage turning into a tip.
Core equipment
The essentials are a heavy bag, a rated mount, hand wraps, a pair of bag gloves, a jump rope, an interval timer and floor covering. Optional later: a wall mirror, a suspension trainer, a speed bag platform, a pull-up bar and a bench.
The essentials versus later upgrades split cleanly. Buy the essentials first: floor covering, a bag, rated mounting hardware, wraps and gloves, a timer, storage and light. Everything else waits. Mirrors, suspension trainers, speed bag platforms, pull-up bars and benches all make the space better and none of them make the first session possible, so they come after you have trained there a few times.
Step-by-Step: How to Set Up a Home Boxing Gym in a Garage
Seven stages take an empty garage to a working home boxing gym, in this order. Do them in order, because each one either rules out a later choice or protects the work you already finished.
1. Inspect the Garage and Measure the Space
Walk the garage with a tape measure and write down four numbers: length, width, ceiling height at the lowest point, and the width of the garage door opening. Ceiling height decides your bag type. If you have under about eight feet of clearance you will struggle to hang a full-length bag at a useful height, and a shorter bag or a freestanding base is the better call.
Then map the fixed obstacles. Note the garage door tracks running along the ceiling and down the walls, the opener rail, any support column, the electrical panel, outlets, windows and the slope where the ceiling meets the walls. Photograph them. That photo saves you rediscovering the same problem at the mounting stage on a Sunday evening.
Check the floor while you are down there. Look for cracks, spalling, oil stains and any patch of damp. Note the escape routes too, and clear a straight path from the training area to the garage door and to the interior door to the house.
A single-car garage is the tightest case that still works, and the trick is deciding early where the car goes. A two-car garage gives you a whole bay to work in, which is enough for a hanging bag and a full shadowboxing area with room for a pull-up bar on the door track.
Measure the swing, not just the room. Stand in the corner you are considering, hold your arms out, and picture the arc a three-foot bag traces when you hit it hard. That arc is the real footprint, and it is bigger than the bag by a wide margin on every side.
How to know this stage is done: you have a written list of dimensions and obstacles, and you have marked on the floor where the bag will hang with a clear ring around it.
2. Confirm Permissions and Plan the Layout
Get this done before the drill comes out. If you rent, ask the landlord in writing and get a reply. If you own, look at your policy for anything about structural alteration or home use of a garage, and mention the change when you next speak to your insurer.
Draw the layout on paper, roughly to scale. Mark the bag position first, then the swing radius, then the shadowboxing area on the wall opposite, then storage along the remaining walls. This is the stage where you decide whether the car still fits, and where it has to sit. A common and sensible layout puts the bag toward the back wall, well clear of the door, with the car parked in front of it.
Sketch the walk path too, from the door to the bag and back, because most garage layouts work fine until you add a second person or a water bottle somewhere inconvenient. Once the paper plan looks right, tape it to the wall at floor level or mark it with tape on the slab itself. Tape is free, changes with the layout, and settles arguments faster than measuring twice.
If you still need the car, decide before the bag goes up. A bag hung high enough that you can walk under it lets you park in front, though the swing arc still defines a no-park zone you mark on the floor with tape. The safer arrangement in a single-car garage is to hang the bag toward the back wall, in the deepest corner you have, and treat the front third of the slab as car space.
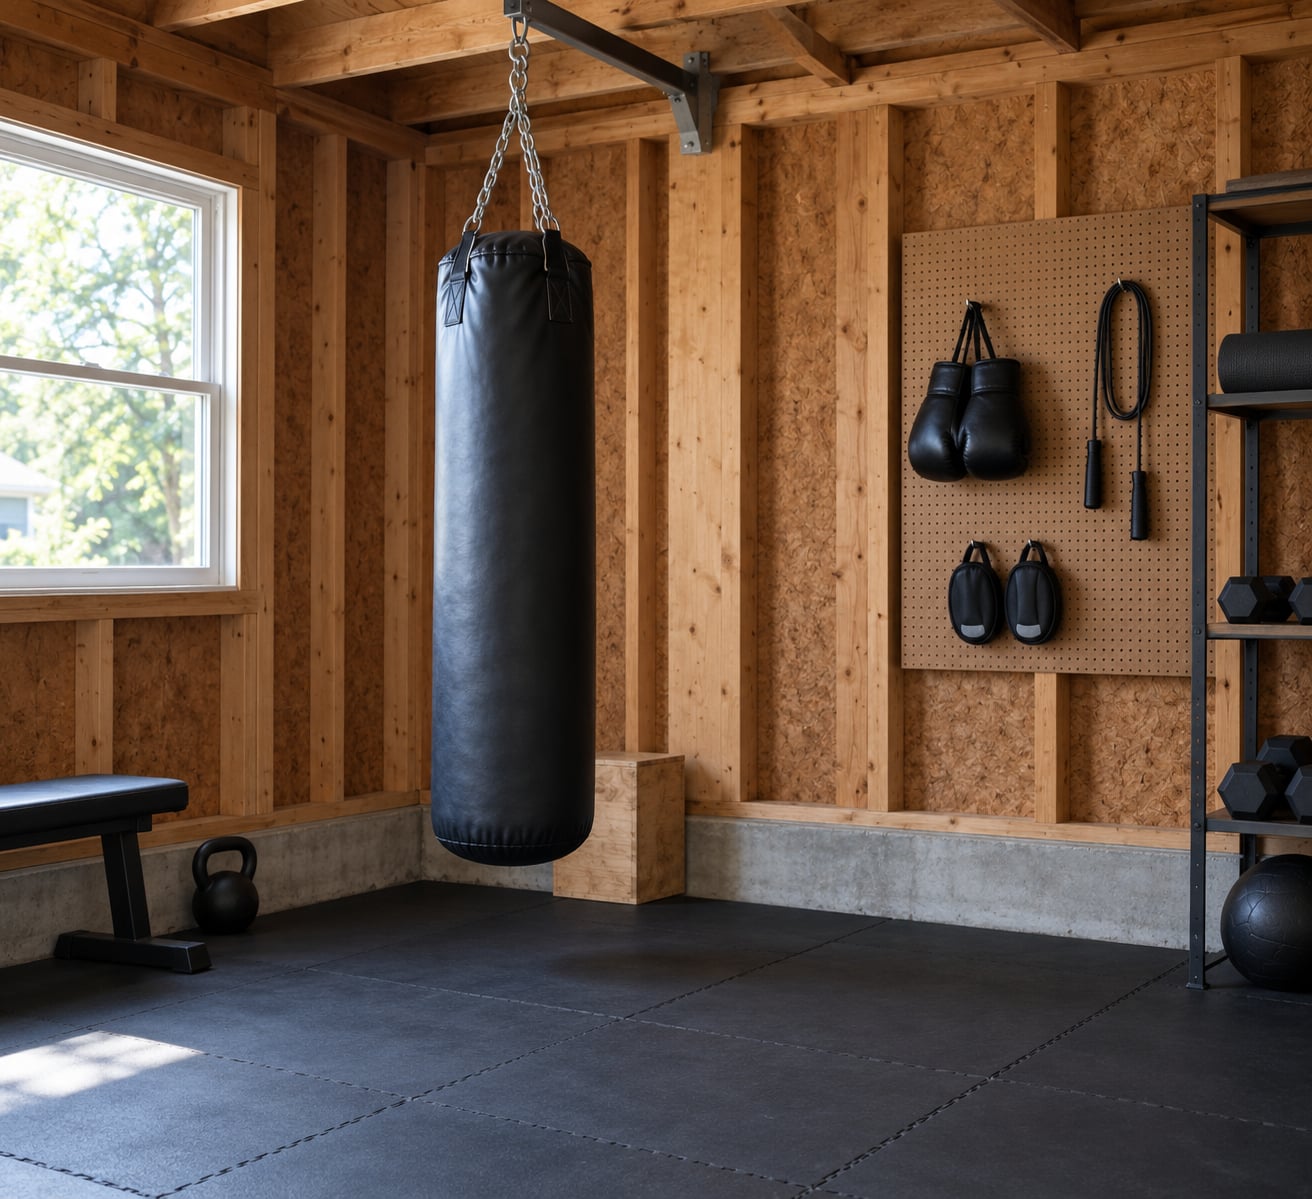
Wall storage does more work here than in a bedroom setup, because a garage has no spare surface. Pegboard on the wall opposite the bag keeps wraps, gloves and jump ropes visible and reachable, and shelving along the remaining wall keeps bins out of the training footprint. Keep the storage wall behind you as you work, not beside the bag.
How to know this stage is done: you have a signed or documented answer on permissions, and a floor plan you could hand to a friend to build from without asking questions.
3. Protect and Prepare the Floor
Start by fixing what is broken. Sweep, then deal with oil and damp patches before anything goes down, because a covering laid over grease traps it against the slab. Small cracks and spalled edges get filled with a concrete repair product and levelled flush.
Check for level across the training area. A gentle slope is tolerable; a lip or a step is not, because it becomes a trip hazard and a shin-banger during footwork.
On covering, there are two distinct options and they are not interchangeable. A bag mat or a single rubber tile under the bag handles impact but leaves the rest of the concrete exposed. Full gym flooring, whether interlocking foam tiles or rubber stall mats, covers the whole training area and protects joints during long shadowboxing and footwork sessions.
Foam tiles are lighter, cheaper and easier to cut around a door track, but they compress under a swinging bag and offer less protection in a fall. Rubber is denser and more durable, and it takes repeated impact without the surface deforming.
Thickness matters as much as material. Thin decorative foam tiles under a heavy bag feel like stepping on a sponge and bottom out quickly. Thicker tiles and proper rubber mats hold their shape under impact and give your feet something to push off against during footwork. Whatever you pick, the stated thickness is the tested thickness, and a thin mat sold for a bedroom will not behave like a mat sold for bag work.
One garage-specific point worth knowing. Concrete wicks moisture, and a sealed slab underneath a mat stays drier through a cold winter than an unsealed one. Sealing the slab is a separate job from laying the mat, and it does not replace it.
Follow the manufacturer installation requirements exactly. That means the stated thickness, the stated subfloor preparation, and any stated edge anchoring. If the product says to keep a gap at the perimeter for expansion, leave it. Interlocking tiles that are butted hard against a wall will buckle.
How to know this stage is done: the slab is clean and dry, any cracks are flush, and the covering lies flat with no lifted edges anywhere near the bag’s swing.
4. Install Safe Lighting, Electricals, and Ventilation
Start with light. Fit fixtures so the training area is evenly lit from more than one direction, which removes the hard shadow that makes it hard to judge a straight punch. Put a switch inside the training area so you are not crossing a dark floor to find one. Color temperature matters more than most people expect, since mixed warm and cool bulbs make it difficult to see detail and make the space feel cheap.
For power, check what the outlet in the garage is on. A dedicated circuit for any equipment with a motor or heater is worth having, and surge protection for anything with electronics is a cheap addition. Any new wiring, new outlet or panel work goes to a licensed electrician, and existing equipment follows its own manual for its power requirements.
For air, an open door and a window on opposite sides will move more air than any fan in a hurry. In winter, an approved garage-rated heater set on the manufacturer’s clearances is the practical answer. Never use an unvented combustion heater or a charcoal-type burner in the same space you are breathing hard in, and keep any heater out of the bag’s swing as well as away from the floor covering.
Garages trap sound as well as heat. A bare slab reflects the thud of every landed punch straight back at you, and the same thud carries through the framing to the rooms above and next door. Adding soft surfaces where you can, and sealing obvious gaps around the garage door, gets you more than acoustic foam ever will. Residents of garages attached to occupied rooms usually find the floor and the door envelope are the two places worth spending money on.
How to know this stage is done: you can see your feet clearly from any position in the ring, every cord is out of the floor path, and the air in the space is visibly moving within a minute of opening the door and window.
5. Choose and Secure a Heavy Bag
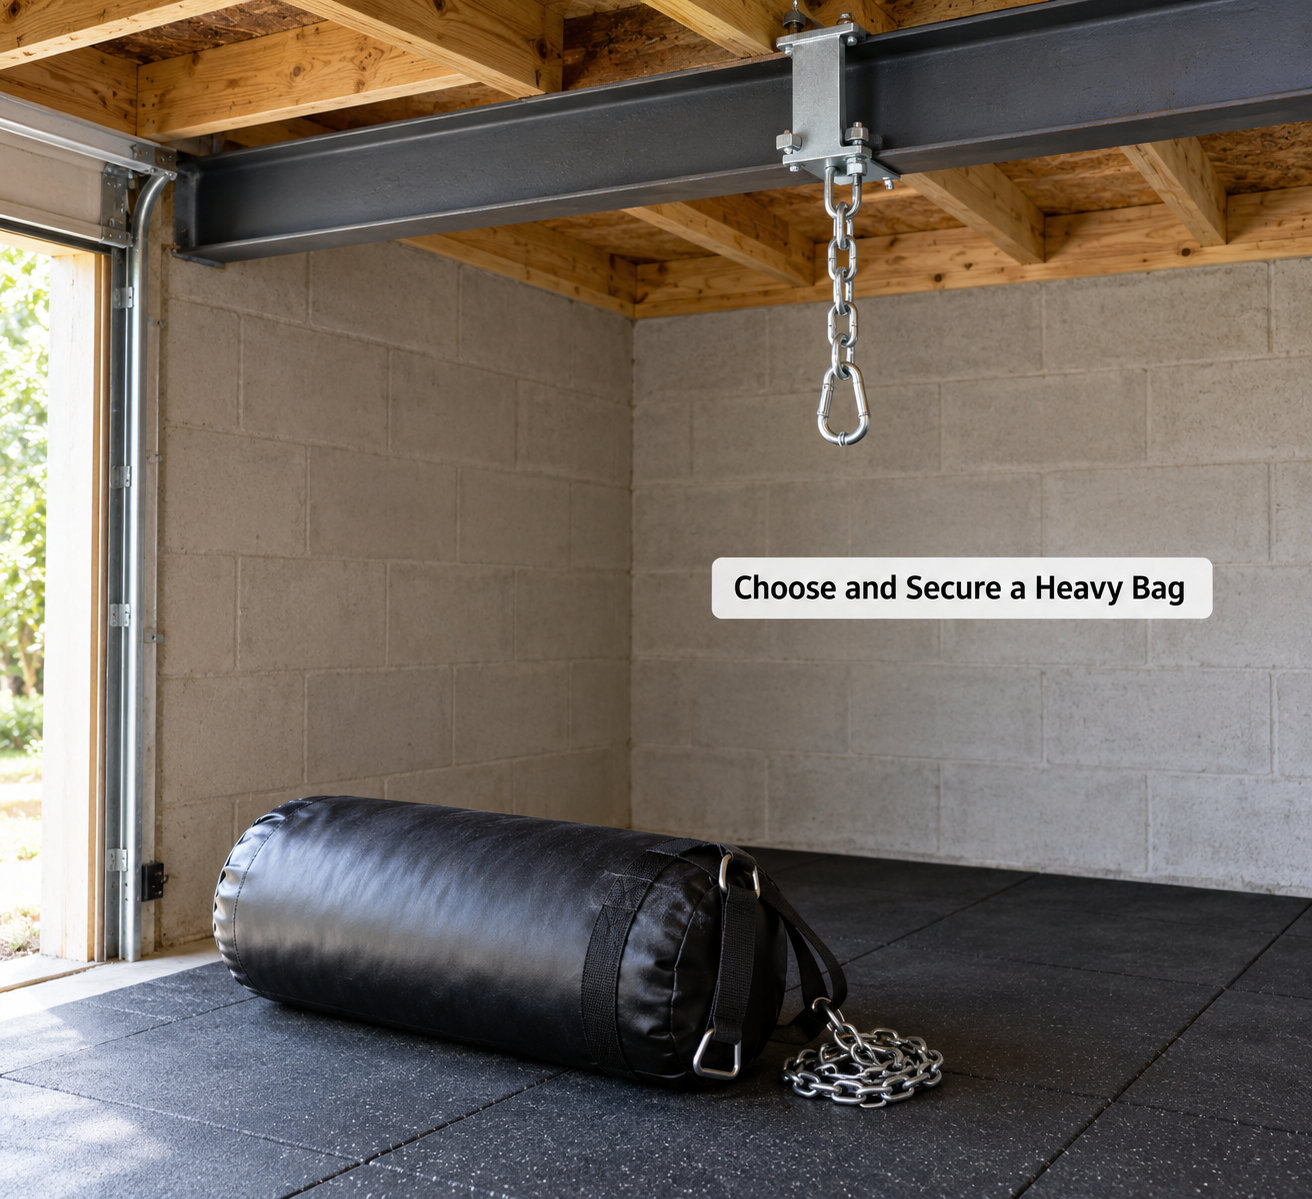
Bag weight is usually quoted around half your body weight, with a heavier bag for power work and a lighter one for speed and footwork. Length matters too: a bag that ends near the knee level is the classic boxing bag, and a longer one running to the shin is built for kicks and Muay Thai work.
Bag construction changes how it feels and how long it lasts. Soft-fill bags feel better on the hands and settle quietly, but they can compress over time. Hard-fill bags hold their shape, throw the punch back harder, and are heavier, which matters if you are hanging rather than standing. Synthetic leather outlasts genuine leather in a garage, partly because heat and sweat reach it from both sides in a space with no climate control.
A freestanding base is the sensible fallback and it needs no ceiling at all. Its footprint is smaller than you think but not zero, and a base you can move is worth a lot in a shared garage. The trade is swing feel: a base resists the bag coming back at you as much as a hung bag does, so it trains you differently.
Now the anchor, and this is the stage that decides whether the gym is safe. You need to know what the ceiling is made of before you pick hardware.
Exposed rafters or joists. If the framing is visible, you can see members running across or perpendicular to the roof line. Timber framing is only as strong as its species, span and how it is supported, and a light member spanning a wide garage can deflect visibly under repeated impact. If you cannot confirm the member’s size and its framing, do not hang from it.
Finished ceiling. If the ceiling is painted drywall, the joists are behind it. A stud finder or a knock test locates them, and you drill through the board into the timber, never into the board alone. Anchoring into drywall is the single most common failure reported by home gym builders, and it tears out under impact in a matter of sessions. Mark the centre of the member rather than its edge, and keep the hole well inside the timber so a mistake does not land you in the gap between two members.
Steel beam or I-beam. A wide steel member is usually the best anchor in the building. Beam clamps and I-beam hangers made for this purpose grip the flange without drilling into anything. Follow the manufacturer’s load rating rather than a vague heavy duty claim.
Ceiling height limits. Mounting high and shortening the chain lets the bag swing lower, but it also brings the hardware closer to the ceiling. Follow the mount’s stated drop range and hang the bag so the bottom sits around shin height, with enough headroom above the top of the bag for it to lift as you hit it.
Whatever you use, the hardware’s published load rating should exceed the loaded weight of the bag by a clear margin, and the connection must be into structural framing. Add a swivel at the top so the bag rotates rather than twisting the chain, and check that the chain links and strap are rated for the load. Follow the mount’s own instructions for the number of fasteners and their spacing rather than adding a second bolt because it feels more secure; an over-bolted plate in timber is still limited by the timber.
Keep people out of the space directly under the mount while the bag is being worked. A dropped chain or a falling bag injures ankles and knees long before anyone thinks about it. Teach anyone sharing the garage the same rule, and keep the area under the bag clear of buckets, tools and the water bottle.
Chain length is the adjustment people get wrong. Too short and the bag sits high and hammers the mount on every punch. Too long and the bottom drags or sits so low you punch your thigh. Adjust until the bag lands where you want it, then re-check the fastener, because every length change loosens something.
How to know this stage is done: the bag hangs at the correct height, swings through a full rotation without touching a wall, track or the floor, and the hardware shows no movement after a hard session.
6. Add Essential Training Equipment
Now the kit, in priority order. Hand wraps come first. They support the wrist and the small bones of the hand, they add a layer over the knuckles, and they cost very little. Learn to wrap properly before the first bag session rather than after the first sore wrist.
Bag gloves are the second essential. Fit matters more than price. They should feel snug at the wrist with the strap pulled firm, without pinching the fingers or crowding the knuckle room. A glove that is too loose lets the hand slide inside on impact, which is how fingers get hurt.
Third is a jump rope and fourth is an interval timer. A timer is what turns a space into a practice session: three minutes of work, one minute of rest, repeated a set number of times. Without one you will train too long and too hard.
Add water within reach, a hook or bin for wraps so they dry instead of staying damp in a bag, and storage that keeps all of it off the floor.
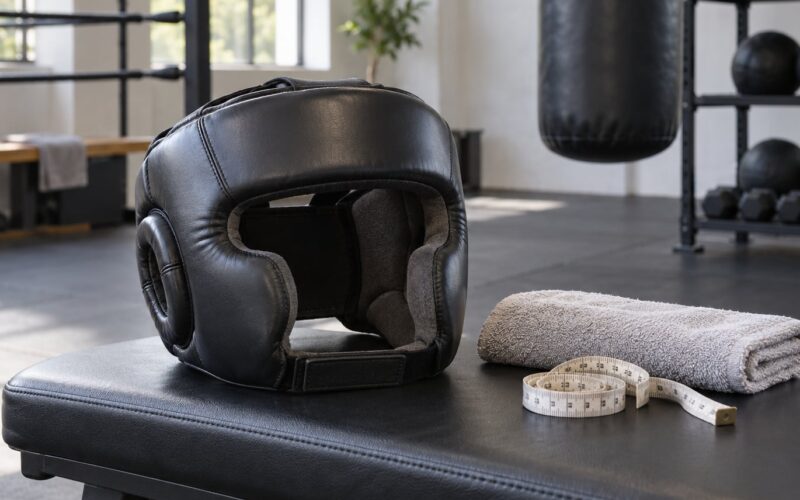
Fit is the thing people skip and then regret. Gloves that are too big let the hand shift on impact, and wraps wound badly do more harm than no wraps at all. Spend five minutes with a tape measure on your fist and read the size chart rather than guessing. Replace wraps when the fabric goes thin or the hook stops holding them firm, because worn gear is where hand injuries start.
Conditioning kit is where the garage earns its keep. A jump rope, a timer and a pull-up bar on the door track cost little and turn the space into a place you can train even on a day you do not feel like hitting anything. Three sessions a week is a realistic target for the first month, and a fourth earns its place only once the first three feel routine.
What to leave for later: mirrors, suspension trainers, a speed bag platform, a pull-up bar and any kind of platform. They are worth adding once you are training there three times a week, and buying them first is the most common way people end up with a beautiful space and no bag.
How to know this stage is done: everything you need for a full session is in the space and nothing extra is underfoot.
7. Test the Gym and Establish Safe Habits
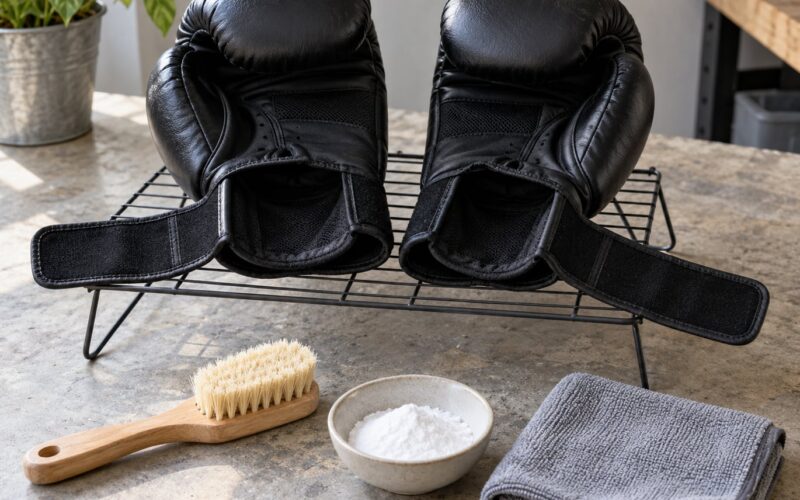
Garage temperature swings harder than you expect. A concrete slab in summer stores heat all day and releases it overnight, and a cold damp morning followed by a warm afternoon puts condensation on the floor and on metal hardware. Wipe the bag down after a session, leave wraps on a hook rather than in a closed bag so they dry out, and keep steel chain and swivel hardware dry to slow corrosion. Ventilation on the same day you train makes a visible difference to how the space feels.
Before the first hard session, do a full walkthrough. Check the floor covering for lifted edges or gaps. Push the bag hard in several directions and watch the hardware, the strap and the ceiling for any movement or creaking, and confirm the bag clears everything on a full rotation.
Then check the air. Run a fan or open the door and window, work hard for ten minutes, and notice how the space feels with no cooling. Check that your route to the garage door and to the house is still clear.
Start the first few sessions gradually. Warm up before anything else, ten minutes of easy movement, then shadowboxing before bag work. Learn the round structure rather than starting with twelve hard rounds.
Hydrate before you are thirsty and take water breaks between rounds. Stop the session if you feel sharp pain in a joint, if the bag hardware makes a new noise, or if you notice numbness in a hand after a round. Those are reasons to pause and check, not to push through. If a joint pain persists or keeps returning, get it assessed rather than training around it.
Then put it on a timer so the space actually gets used. A simple session is three rounds on the bag, three rounds of shadowboxing on the floor with the mirror up, six rounds of jump rope and a stretching block at the end. Keep the rounds at three minutes with one minute rest until your conditioning catches up, and record nothing for the first few weeks other than whether you showed up.
Build a monthly habit of checking the strap, chain links, swivel, bolts and floor edges. Impact hardware works loose over time, and five minutes of inspection is cheaper than a dropped bag.
How to know this stage is done: you have completed a full session without pain, noise from the hardware, or a single trip hazard.
Common Mistakes
Anchoring into drywall instead of framing
Gypsum board and plasterboard are not structural. A swinging bag loads that anchor point hundreds of times an hour, and repeated impact will pull it out of the ceiling. Find the joist, or use a mount rated for the surface you actually have, and follow its installation instructions to the last bolt.
Assuming any ceiling member will hold a heavy bag
Timber size, span and support matter, and there is no way to judge from below with certainty. If a member looks undersized, or if you cannot identify what it is, use a freestanding base or a purpose-built floor stand instead. A freestanding bag needs no ceiling work at all, which also means no permission and no insurance question.
Leaving too little floor around the bag
This is the most common complaint from people who have already built their garage gym. A full 360-degree swing needs a lot of clear floor, and a bag that clips a wall on every round stops dead and comes straight back at you. Measure the swing before the bag arrives, not after.
Hanging the bag near the garage door
Tracks, rollers and the opener rail are all in the swing path, and the door itself has to be able to open. Keep the bag well back from the door zone. This is also where the neighbours hear you most, since the door is the thinnest part of the room.
Improvising the electrical
Daisy-chained extension leads across a floor you are moving on is a poor idea, and running new cable is not a homeowner DIY job. Use a properly rated circuit, have an electrician do any new work, and keep cords out of the training floor.
Treating the garage as a climate-controlled room
A garage that gets a workout in July and sits unused in February puts sweat on leather and moisture on steel hardware. Ventilate on training day, wipe the bag down after, and check hardware for surface rust every few months. Conditioning yourself for heat is worth it too, because most people lose their round early in a hot garage and mistake it for poor fitness.
Buying advanced equipment first
The order matters: bag and mount, flooring, wraps and gloves, timer, and only then the extras. Building it in that order means you can train as soon as the floor is down, instead of owning a platform you have not used yet.
A few tips that help more than any accessory. Keep a wall mirror at eye height on the wall opposite the bag for form work, but not so low that you catch it with a kick. Keep the storage wall opposite the bag so there is nothing to trip into behind you while you are moving. And if the neighbours are close, address noise at the floor and the envelope first, before spending anything on acoustic foam, because structure-borne thud travels through the slab and the framing rather than through the air.
Frequently Asked Questions
Do I need permission to turn my garage into a home boxing gym?
If you rent, yes, get written landlord approval before any permanent change. Floor covering and a freestanding bag stand are usually fine, but drilling into framing, running new electrical or adding a wall fixture are alterations. As an owner, tell your insurer about structural changes and new outlets. Rules vary by lease and by location, so check yours rather than assuming.
Can I hang a heavy bag from my residential garage ceiling?
Yes, when the bag hangs from structural framing or a steel beam through hardware rated for the load. Find a joist behind drywall with a stud finder and anchor into the timber, not the board. A beam clamp or I-beam hanger suits a steel beam. Never hang from decorative trim, drywall, or a member whose size and span you cannot confirm. A freestanding base avoids the question entirely.
What type of flooring is best for a garage boxing gym?
Rubber is the better choice under a heavy bag because it takes repeated impact without compressing, and it is easier to sweep. Interlocking foam tiles are cheaper, lighter and simpler to cut around a door track, but they compress under a swinging bag and protect joints less well. Whichever you choose, follow the stated thickness and installation requirements, and leave the expansion gap the instructions call for.
How much space should I leave around a heavy bag?
Plan on roughly six feet of clear radius in every direction, and treat that whole area as unusable when the bag is in use. A full 360-degree swing needs more floor than most people expect, and the space has to stay clear of walls, shelving, the car and the garage door tracks. Measure the swing of your own bag before settling on the position.
Is it safe to train in a garage with a car in it?
It is fine as long as the car is outside the bag’s swing and your movement area, and there is a clear route to the door. Watch for condensation on the bodywork in humid weather, which is a slip hazard on a damp slab. Keep bags, mats and equipment off the vehicle and check the bag’s full rotation before every session in a shared space.
What equipment does a beginner boxing gym actually need?
Six items cover almost everything for the first six months: a heavy bag, a load-rated mount, impact-rated floor covering, hand wraps, a pair of well-fitted bag gloves, and an interval timer. A jump rope and water add very little cost. Mirrors, speed bag platforms, suspension trainers and platforms are worth adding later, once you are training there consistently.
Conclusion
The safe order of operations is the whole trick: measure the space, confirm permissions, then fix the floor and the anchor point before you buy anything decorative. Every expensive mistake in a garage boxing gym traces back to skipping one of those three.
Start this weekend with a tape measure. Note the ceiling height, find the framing or the beam, mark a bag position with six feet of clearance around it, and draw the layout on paper. Once those three are settled, the rest of the build is a weekend of work rather than a renovation. You will be throwing punches in 2026 before the month is out.